Caffeine: the most potent artificial intelligence drink!

Caffeine: the most potent artificial intelligence drink!
Deep in the Lair of the Perpetually Curious Fox

Wednesday, 11 January 2012

My Karma ran over your Dogma!

When I first came across this phrase many years ago, I couldn't stop laughing for several days, literally. So what does it mean, my Karma ran over my Dogma?

It is with many layers;

First layer, the vocabularic pun:

My car (ma) ran over your dog (ma)


Which implies, "Oooops, my bad, I think I just flattened your pooch!"

Second layer,


My Karma (private belief of Good and Evil) ran over your Dogma (your strict Scriptures condemning me to Hell).

Which is an aphorism for, "No matter how bad your view of me is, I believe that what I'm doing is right, so there! *flips the metaphorical bird*"

I could ramble an entire sociological thesis on this phrase, but I will not. Just spare a moment to think of the phrase and see the beauty in it.

Don't let someone else's Dogma chase and pee on your Karma and life will be much more simpler, and you'll be much happier.

I have spoken.

If you're still reading and wanting some more philosophical funnies, here's another one to think of:

"I am a Dyslexic, Agnostic, Insomniac ... I stay up all night wondering if there's a Dog"


Thank you Classic FM for this gem that made me cackle like a loon at 3 am while nursing my insomnia.

Wednesday, 4 January 2012

How to clean and degrease deer bones for making tools


I saved some deer bones from this year's deer in order to play around with and make some tools and carvings. I'm not a big fan of boiling bones to get rid of the soft tissues as this weakens the collagen bonds holding the osteon (bone) tissues together, making it brittle. I like the bones to be clean, but still maintaining the natural "give" so it doesn't shatter with use. 


Cleaning and degreasing deer scapula (shoulder blade bone) for a staking tool for leather softening. 

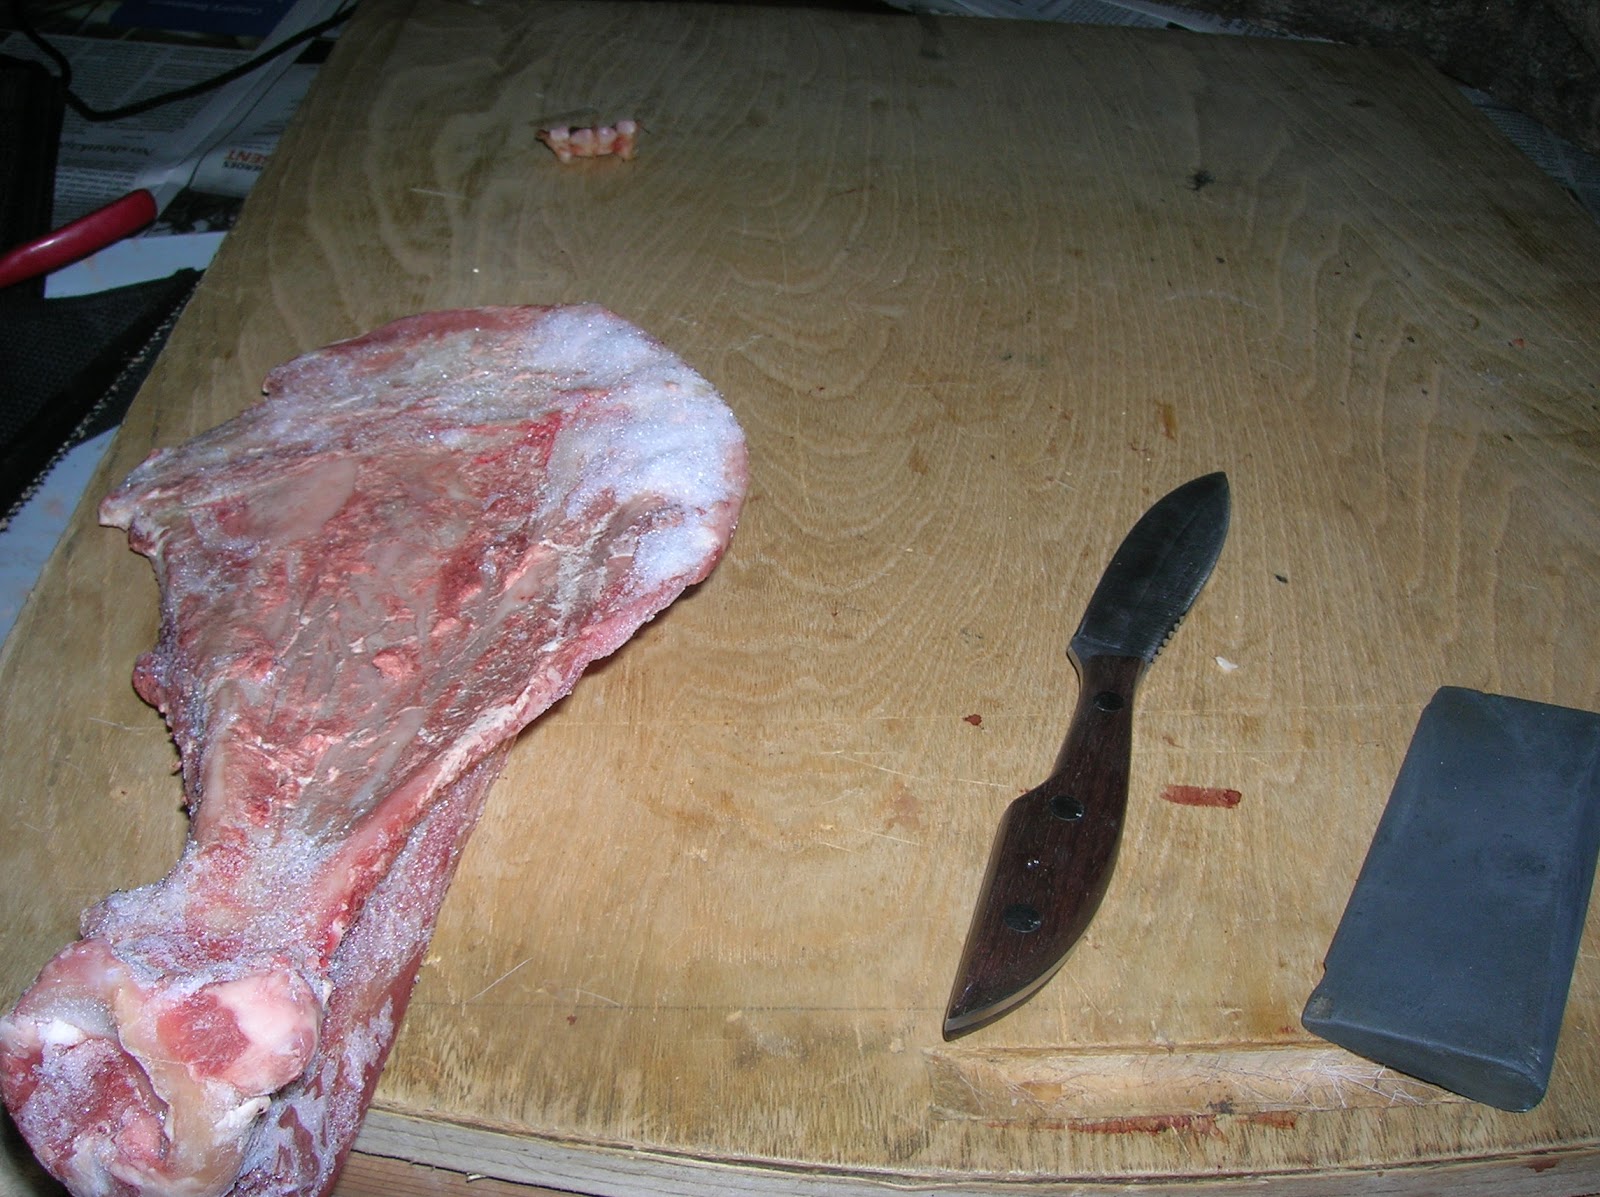
Obviously, get yourself a deer scapula. I like to work with partially frozen raw bones, as it helps to have the squidgy, slippery, soft tissues frozen; makes it easier to cut and scrape off with a knife. If you prefer to start with unfrozen bone, it gets a bit slimy.


Remove as much flesh as possible from the said bone, being careful not to mar the bone with knife marks. I prefer razor sharp knife held as flat to the surface of the bone as possible to flesh it properly.

Now, once you've removed enough flesh and soft tissue, look at the flat "blade" of the scapula; you should be able to discern a clear boundary between the soft cartilageneous tissue and the boney tissue - think of the border of a chicken's white cartilage 'breastbone' and the boney breastbone.

Take your knife and cut the cartilage off the shoulder blade. It should be a very easy cut.

 All mammalian bones have a thin membranous covering called the periosteum; this can be easily worked off with a knife blade.

 Fleshing and de-membraning completed!


 Don't forget to remove as much cartilage as possible on the other end - the ball socket joint.


Once removed of all superfluous tissue, pop it in a bucket full of hot (about as hot as your hand can handle it) soapy water. You can, of course use cold water, but hot water is better so the fats in the trabaculaer (spongy, honey-combed structures) liquifies and seep out of the bone and into the soapy water.

You'll notice that you need to change the water regularly (once a day the first week, then every few days afterwards) as more fats escapes the bone. Otherwise you might end up with a very stinky bucket of gooey stuff. Once the water stays "clear", it means there's no fats left in the bones. You can scrape off the left-over bits of soft tissue using your fingernails (or a blunt butter knife)

Air dry it for a few days. The bone will whiten up as it dries.

And voila! you have a deer scapula all ready for action! I also smoothen the blade end of the deer scapula with sandpaper so it doesn't scratch the hide it's meant to soften.


Perhaps I will later attach a wooden handle to it ... but for now the tool is fully functional as a hide staker.


Other links that might interest you:


Deer hock pouch
Deer hock pouch, iteration 2; with belt loop
How to skin deer legs for hockskins
Bark tanning hair on deer hide
Softening bark tanned hair on deer hide
How to remove the pasterns and coffin bone from a deer foot
Salt Curing deer hides for storage
Alum tawing white tail hair on neck skin
Soap/Oil tanning hoof-on, hair-on, Mule Deer hockskin
Processing green deer hide into ....
Wild Foods compilation


Saturday, 31 December 2011

Softening the bark tanned deer hide

Decided to finish the bark tanned hide project. Technically, I could have let it be as it is now, it's tanned and won't spoil, but I'd like it to be a bit softer and lies down flatter. I'm sure the cat would agree with me, too.

Goosey Lucy on the deer hide. The hollow deer hair is VERY warm, as this fat cat can testify.

First of all, we make the dressing solution, if you don't have raw deer brains handy you can substitute with a mixture of 1/3 soap and 2/3 oils.


1/3 liquid soap (hand soap works fine, as do shower cream) and 2/3 oil. Any oils, really, I'm using olive oil.

Shake it well until it emulsifies.

Should have the consistency of thick cream/runny mayonnaise. It doesn't hurt to be runnier, than thicker.

If you're working on an already really damp, small project piece like the deer hock skin, then just rub in the thick leather mayo in as is. I just find that diluting the "leather mayo" with equal amount of water and shaking it well makes it easier to paint on using a brush. Plus, the extra water helps the hide take in the oil in the mixture. 

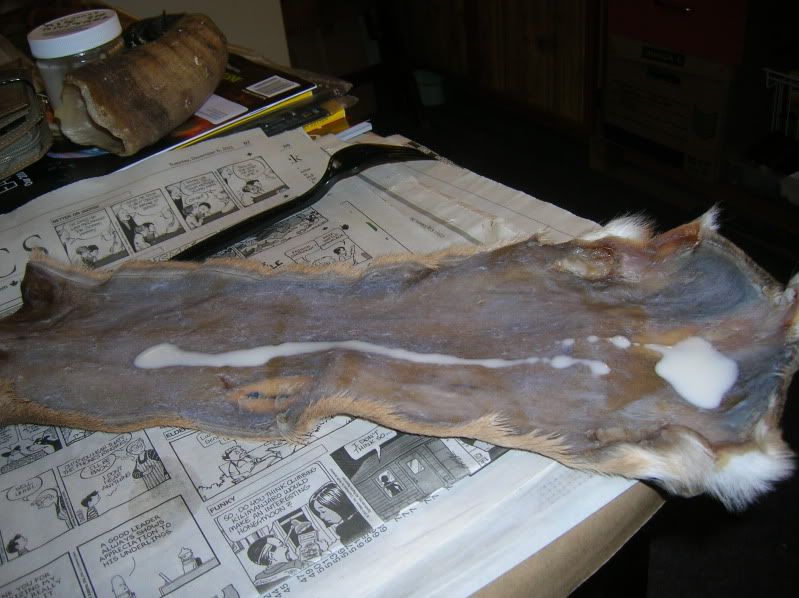
Then, grab that bark tanned hide, and spray water on the tanned flesh side with an atomiser, or just use a damp sponge to dampen the surface. The "leather mayo" will absorb better when the hide is damp, plus, we're going to roll it up and it's never a good idea to roll dried hide as it'll crack and damage the grain layer and start shedding hair.

Tools of the trade: paintbrush, jar of diluted leather mayo, and an atomiser.
Once you've sprayed the flesh side and get it fairly damp, paint on the diluted leather mayo. Don't be stingy, you can always make more of the leather mayo. Paint away; the hide should suck up the emulsion pretty quick.


There will be areas that probably needs some "help" in getting the emulsion into the collagen fibres - you can either use a smooth rock to press it in, or using a blunt wooden implement .... you know, like a STICK lol.

Work the emulsion in well - it needs to reach the collagen fibres throughout the whole hide.

If you've worked it in well, the flesh side should take a darker colour. Don't worry if there's areas that are a bit stubborn, just make sure that you've covered the whole hide with as much emulsion to make it nice and damp and slightly "shiny" with oil. 

Now, grab a towel, soak it in hot water, and try your best to wring out excess so it doesn't drip. Lay it lengthwise onto the oiled hide so that it covers half of the hide. Fold the other side over onto the towel, so you kinda making a hide/towel/hide sandwich. That way the oiled flesh side is in contact with the damp, hot towel.
Notice how shiny the flesh side looks after the oiling?
Now roll it up! Don't worry if it doesn't roll up properly at first. Take your time - you can always re-roll it tighter when the hide has sucked up enough moisture and becoming less cardboard like and more thick blanket like.
Deer burrito!
Leave the deer burrito overnight with the towel rolled up inside. Check again and re-roll tighter and soak more water into the towel as necessary. The heat from the hot water helps the collagen fibres to relax and makes the oils penetrate deeper .... think of the "hot oil treatment" for dry hair. Don't use water that's too hot, obviously! You want to warm the leather, not cook it!

Rolled tighter! More hot water!


While waiting for the hide to hydrate fully and soften up, get 4 long pieces of wood, and start making a frame.
Make sure the frame is bigger than the hide!
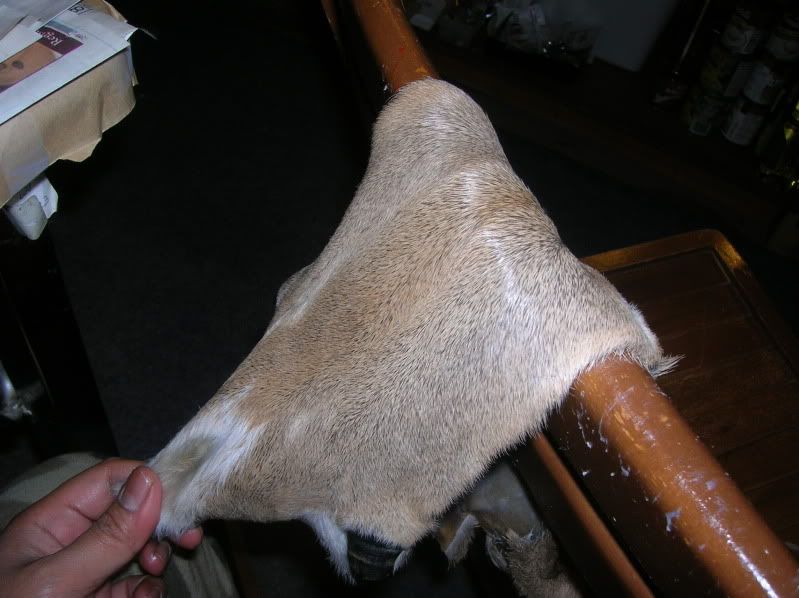
Then place the hide centred on the frame lying on the floor. Since we're not really doing any scraping as such, like scraping off flesh or hair, it's not too compulsory to have the hide laced super tight. Just make sure it's tight enough laced so you can work out the creases. The hide should shrink a little as it dries, so keep that in mind, too.


It's easier to poke holes in the edge of the hide for lacing if you wet it first.


Poke a hole into the hide, say 1cm from the edge. 

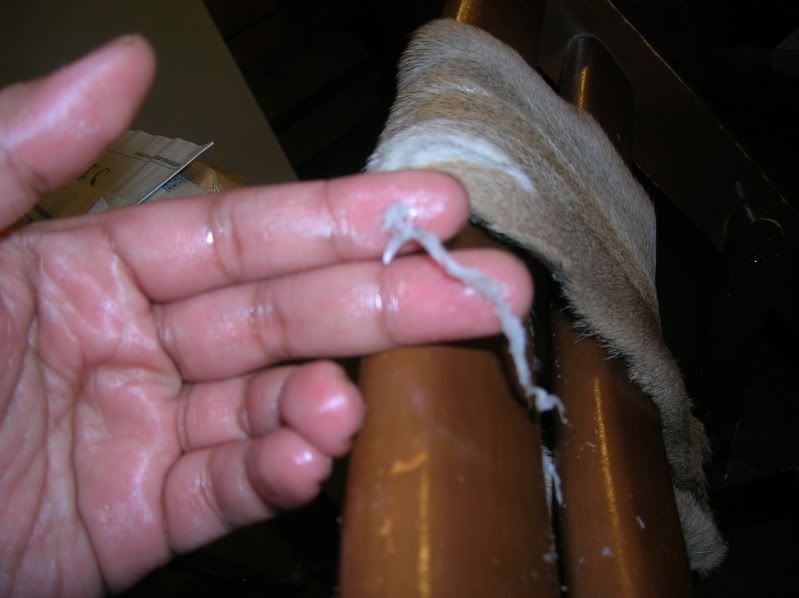
Use a bent paperclip with a loop at the end and poke through the hole into the hair side. Catch the string in that loop and pull it back to thread the string into the whole.


Tie off the end onto the frame and continue process of poking holes and lacing for about 4 or 5 loops, then tie it off to the frame. Repeat on all sides of the frames, so you centre the hide properly. You can always re-tighten and re-lace later, so don't go too nuts with it yet. You want to make sure you laced the hide as flat as possible, stretching out all creases.

5 anchor points to centre properly.
OK, here's the hide on the frame with the frame propped up. I'm going to stop now as my fingers are getting tired! Will continue .....

Here's some update on the hide. I finished lacing it a couple of days ago:

You may notice that the some of the edges actually drapes over the frame; this is because I wanted to save some of the edge pieces as unsoftened bark tan (they're the really thick bits - neck, bit of the leg) for some over things. The main body piece will be softened.
Now make some more of the leather mayo, and dilute it with water. Grab a paintbrush or a sponge and start slapping it on. Again, don't be stingy. It should suck up the good stuff very quickly, now being stretched on the frame.


How much emulsion do you need to paint? Depends on how soft you want it to be, how much creases you need to work out, how quickly you work, etc. The second painting uses up about 400ml of emulsion, as I have a lot of creases to smoothen, from the rolling.

At this point, you can either let it dry as is, to get a stiff-ish flat rug, or work it with a tool to soften it a bit more. If you do decide to work it with a tool, make sure you sew up all the holes or you might end up tearing the holes into bigger holes ... well you get the idea.


To soften, I decided to to make and use a deer scapula (shoulder blade) that's been cleaned and degreased. I would have reshaped it a bit more and have a wooden handle for it, but for this hide, I'll just use it as is. Once degreased the bone should dry very well with little oily residue seepage, and hence less chance of rancid fat smells. You have to remember that bone marrow is a very fatty substance, not to mention extremely delicious! Don't waste it!

Cleaned and degreased deer scapula.
Here's what it looks like now that it's softened. It lies flat, and can be rolled and folded easily. Not exactly velvety, robe soft, but good enough for a bedroom rug


Other links that might interest you:


Deer hock pouch
Deer hock pouch, iteration 2; with belt loop
How to skin deer legs for hockskins
Bark tanning hair on deer hide
How to remove the pasterns and coffin bone from a deer foot
Salt Curing deer hides for storage
How to degrease deer bones for making tools
Soap/Oil tanning hoof-on, hair-on, Mule Deer hockskin
Alum tawing white tail hair on neck skin 
Processing green deer hide into .... 
Wild Foods compilation

Friday, 30 December 2011

Deer hock pouch, iteration 2

OK, finished the 2nd hock pouch. My fingers are a bit sore, so I think that's enough leather sewing for today LOL.

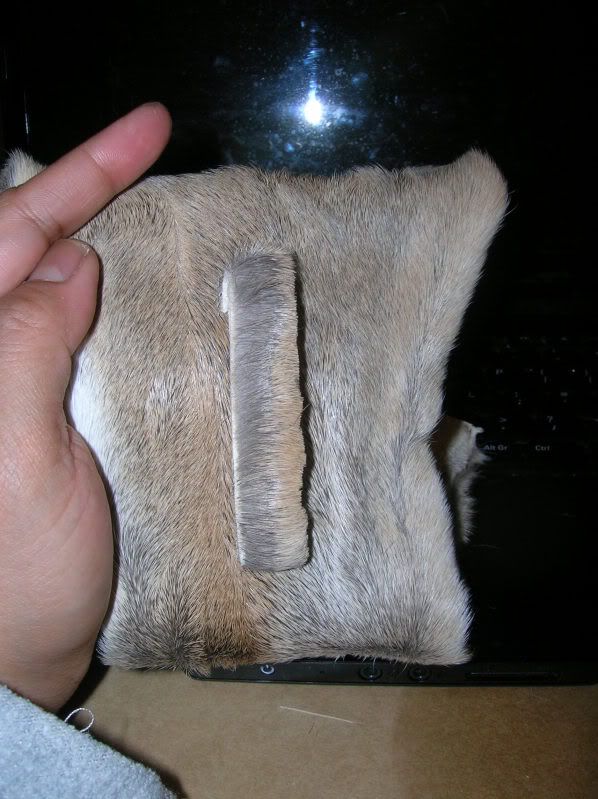
The modification for this one includes a belt loop.

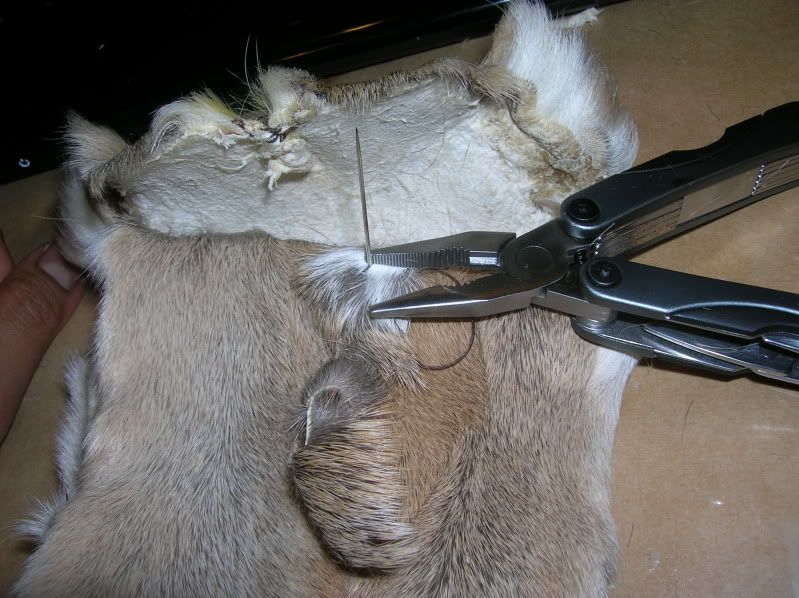
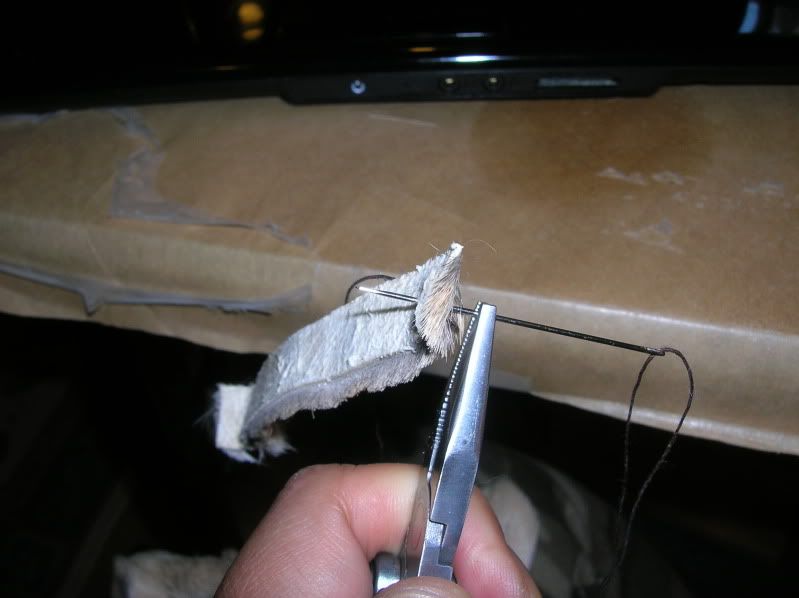
Please excuse my rather sloppy sewing skills and the not very paleo multitool pliers! I don't want to imagine how hard it would be to sew a bark tanned hock! Stabbied myself several times with the needle.

Image

Image

Image

Yes, I used a dark coloured milsurp kit thread, as I can't see them stitches too well if it's light coloured. Waxing the thread helps a bunch. Just used a normal sewing needle that can take that thread.

Then comes the thong bit with a knot, as a button. Thought about using some bone/antler next time.

Image

Image

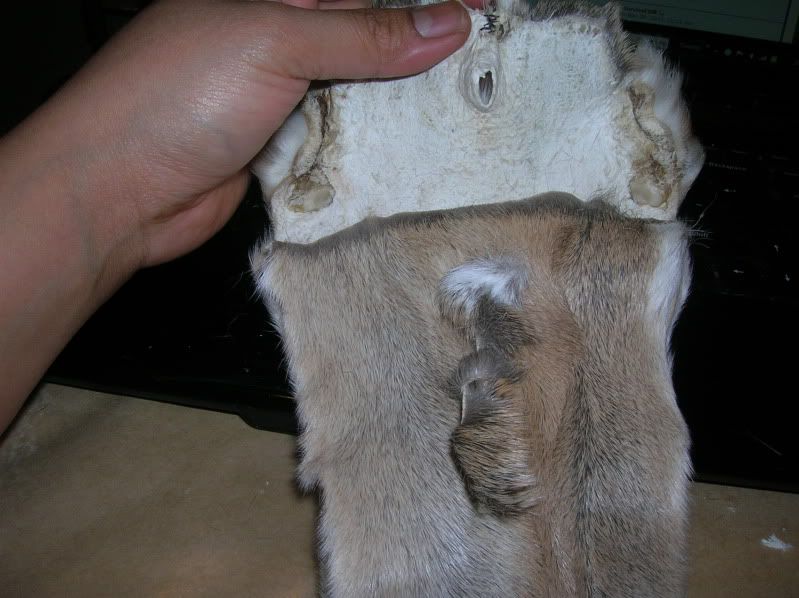
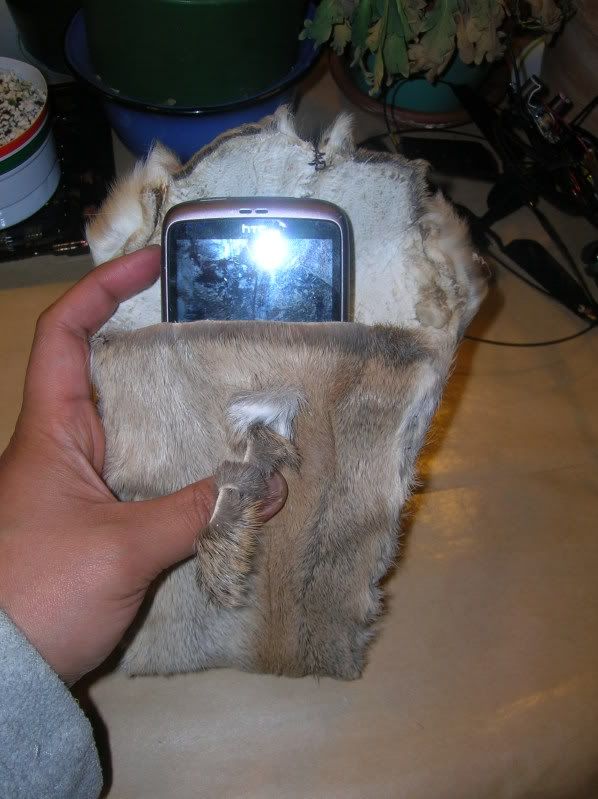
Aaaaand after many needle stabbies and curses .... it's done! Deer hock pouch, iteration 2.

Image

Low tech solution to high tech problem LOL

Image

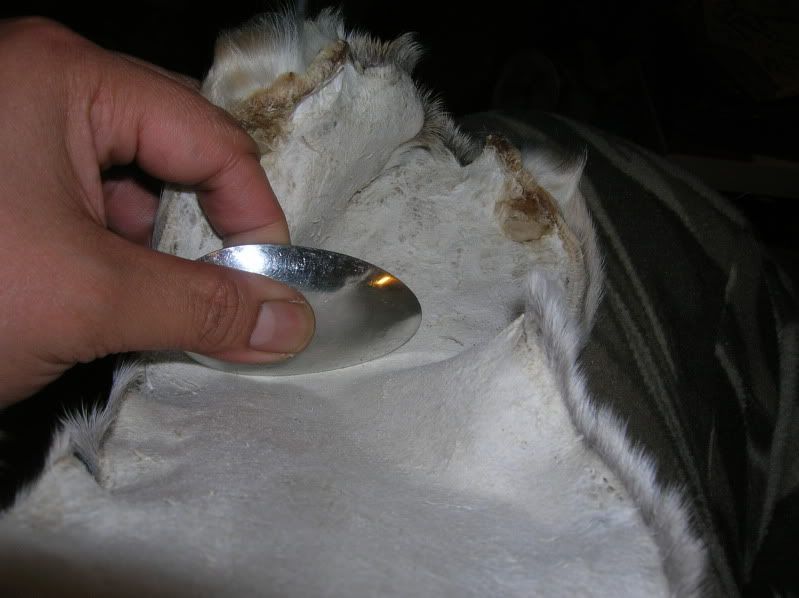
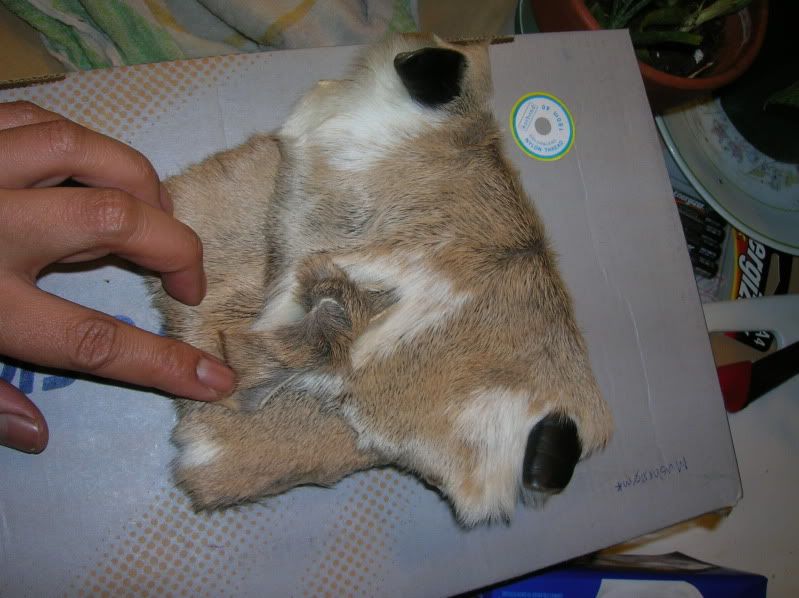
This time I didn't soften the hock on the back of the chair like I did the first one.... but got curious with ehailstone's (on Paleoplanet Forum) mention of "oo-luke" technique of softeningand decided to try it in combination of using a spoon as a mini-staking tool. Sorry about the weird angle - the only way I can take a photo is to bite one end of the hock skin to free up that hand for the camera.

Image

Quillsnkiko in Paleoplanet pointed out a cool tip - chewing the hard bits, and yes I did chew on the harder bits to moisten/soften it enough to make sewing possible :) tastes like smokey deer flavoured not-quite-chewing-gum-but-close LOL. Gotta make sure no doggies get this thing. Damn delicious.


Other links that might interest you:

Deer hock pouch, iteration 2; with belt loop
How to skin deer legs for hockskins
Bark tanning hair on deer hide
Softening bark tanned hair on deer hide
How to remove the pasterns and coffin bone from a deer foot
Salt Curing deer hides for storage
How to degrease deer bones for making tools
Alum tawing white tail hair on neck skin
Soap/Oil tanning hoof-on, hair-on, Mule Deer hockskin
Processing green deer hide into ....
Wild Foods Compilation

Saturday, 24 December 2011

Deer hock bag

Quick christmas present for my hunting buddy.


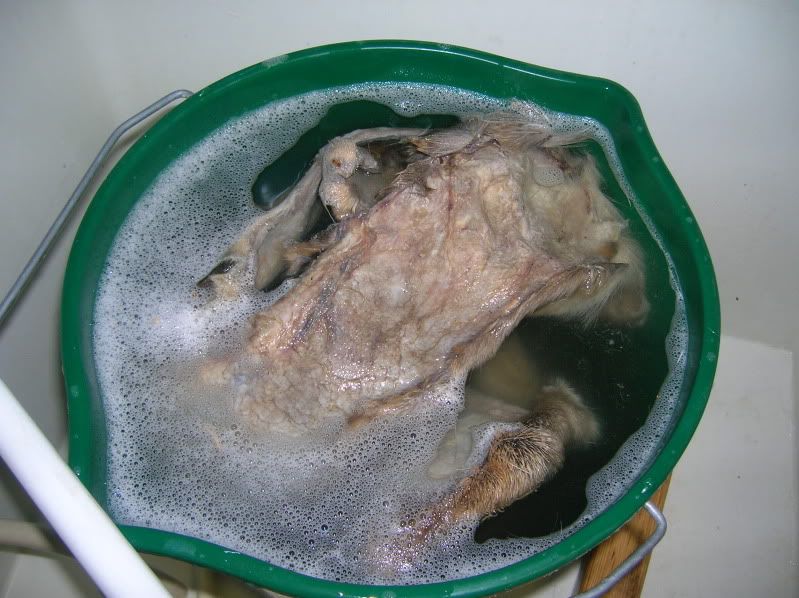
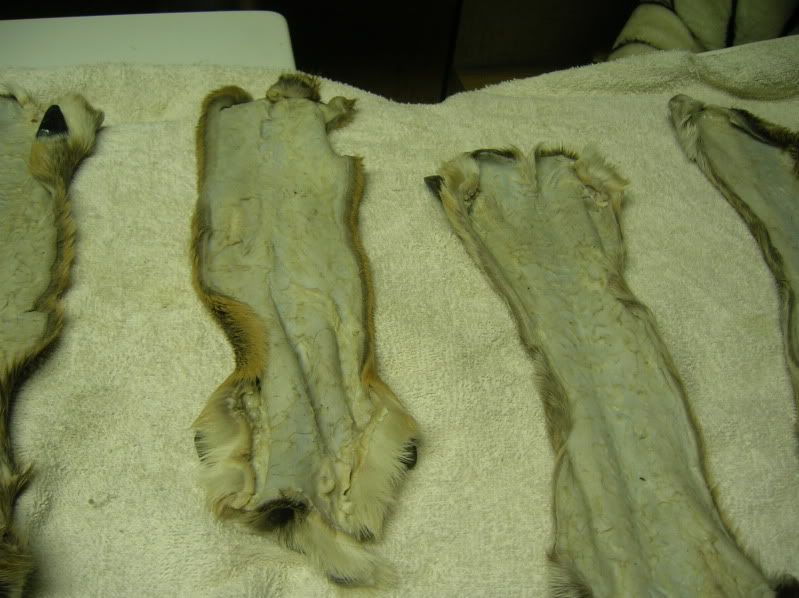
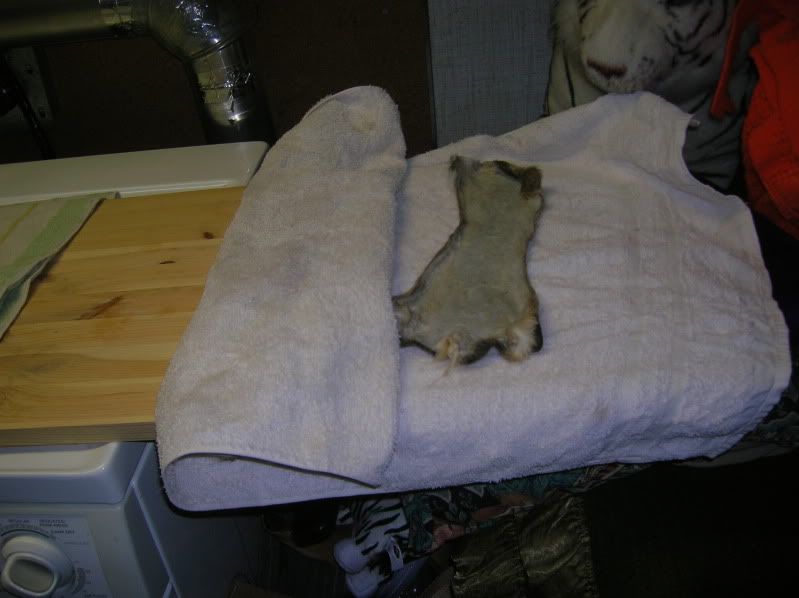
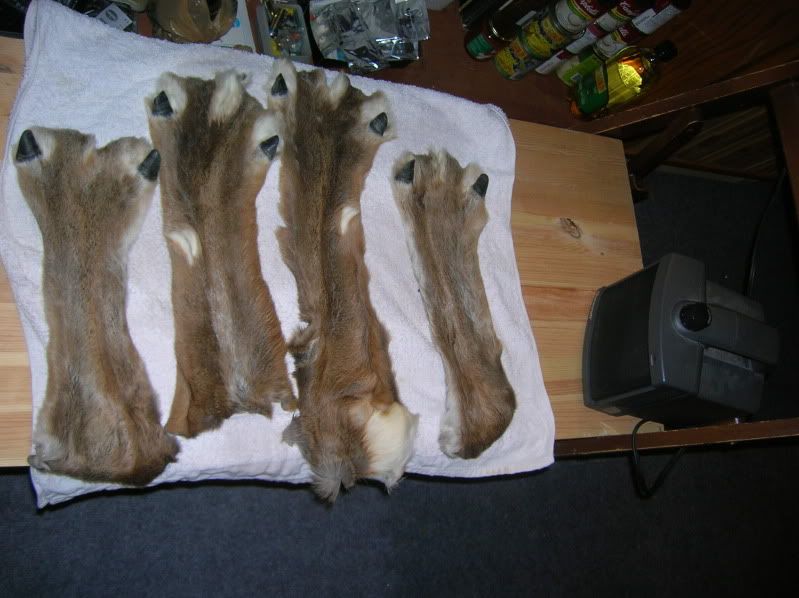
First, we get some hock skins. I have a few kicking around salt cured, so into the bucket with mild detergent and warm water it goes. I think I washed it 3 times with soap to finally remove the rut smell, even used a soft brush on it. Then rinse.

image

The membrane in the flesh side is such a bugger to remove, wet scrape wise, so I decided to leave them on for the moment - just making sure all the gluey stuff, rutty smell and loose animal bits are removed.

image

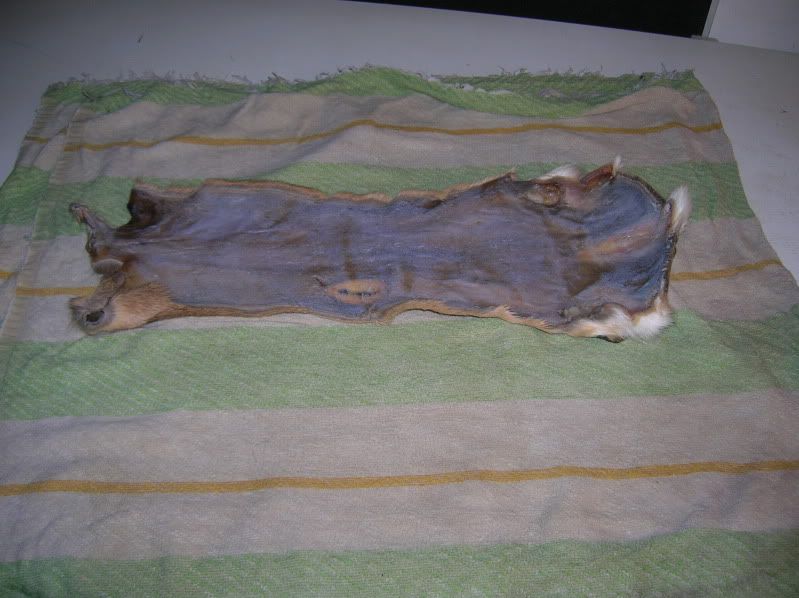
Roll it up in a towel, and wring, to dry off excess water.

image

Put it hair side up, on a towel, near a fan to dry off the hairside completely.

image

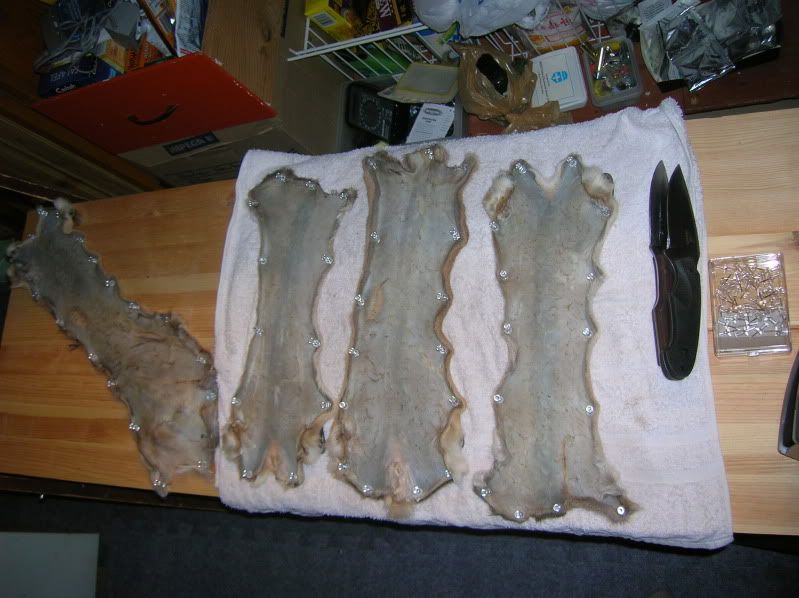
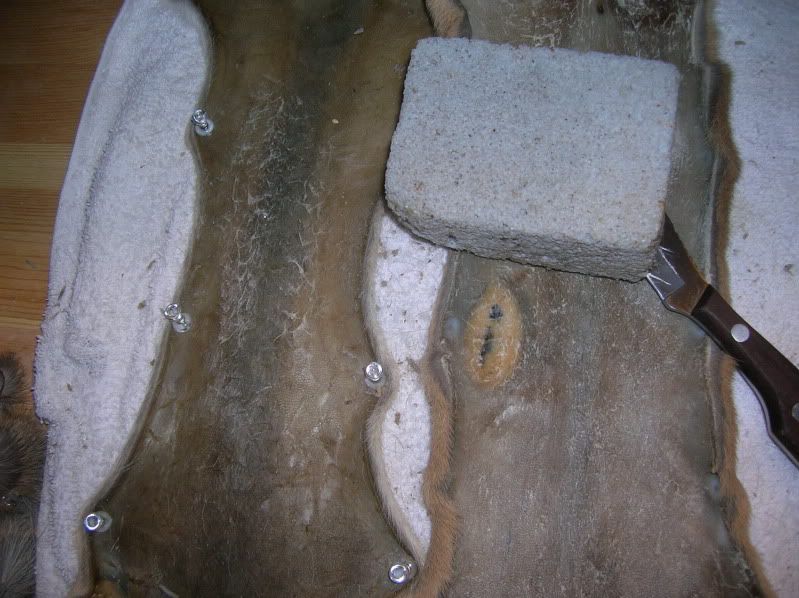
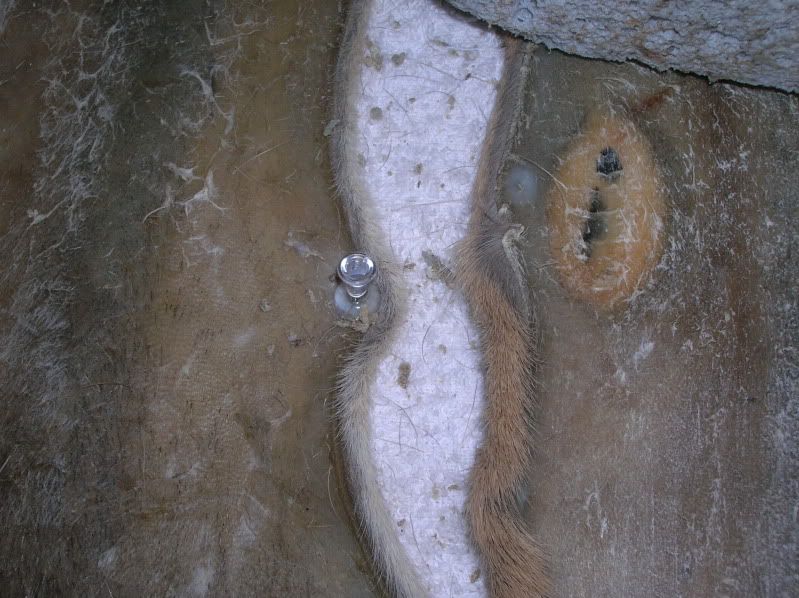
Tack it onto a flat board, flesh side up, to dry.

image

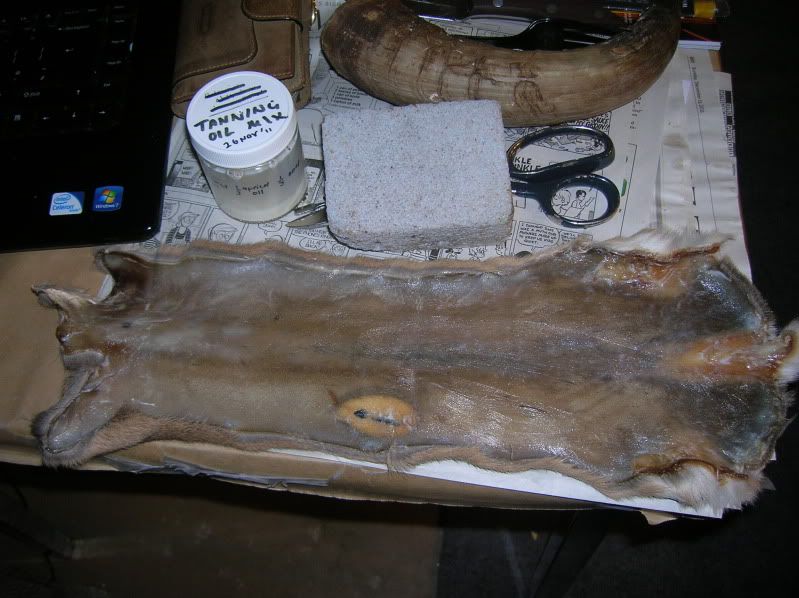
Once dry, use a sharp knife and a pumice stone to remove all membrane. I love the pumice stone - it kinda works like an eraser for membrane when the hockskin is dry. Love the stuff. Rub rub rub away until you remove the dried, shiny membrane stuff.

image
image

When most of the membrane is gone (little tiny patch here or there doesn't hurt it much), spray some water on it until damp, and dress it with your dressing of choice. I used 1/3 liquid soap + 2/3 oils.

image

Then I rolled it up in a damp towel that's been microwaved for half a minute to warm it up. Roll it up tight and put somewhere warm for an hour.

image

More dressing. Rub it in well, the hock skin should be really nice and loose, and pretty soft now.

image

Then work it. Took me about an hour or so, hock skin is quite thick, but having hot hands and a warm room helps.

image

More bits of membrane comes off, which I knew they would.

image

Sand paper to smooth it. Look how it compares to the tacked but not de-membraned, oiled and worked. I find it helps having an unworked piece to compare to as a reference for "done-ness"

image

The smoking step is missing because my niece's dog was keeping me busy - but yes, it was briefly smoked. For a tiny piece like this, what I did was put the hock in a tin with holes poked in the top and bottom. Then light an incense stick or put a smoky piece of damp wood in the tin. Smoke for as you needed. The tin helps hold the smoke in, too - so after an hour of taking out the hock out, there's still lotsa smoke in the tin.

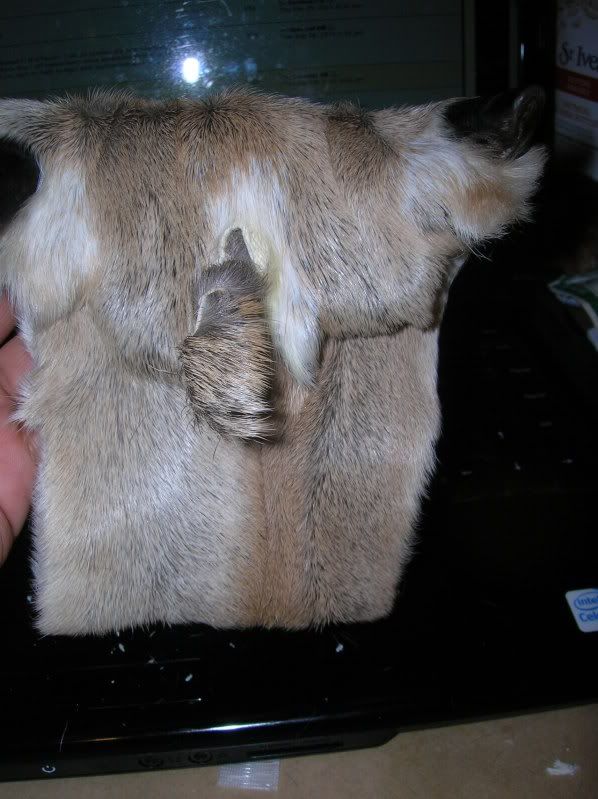
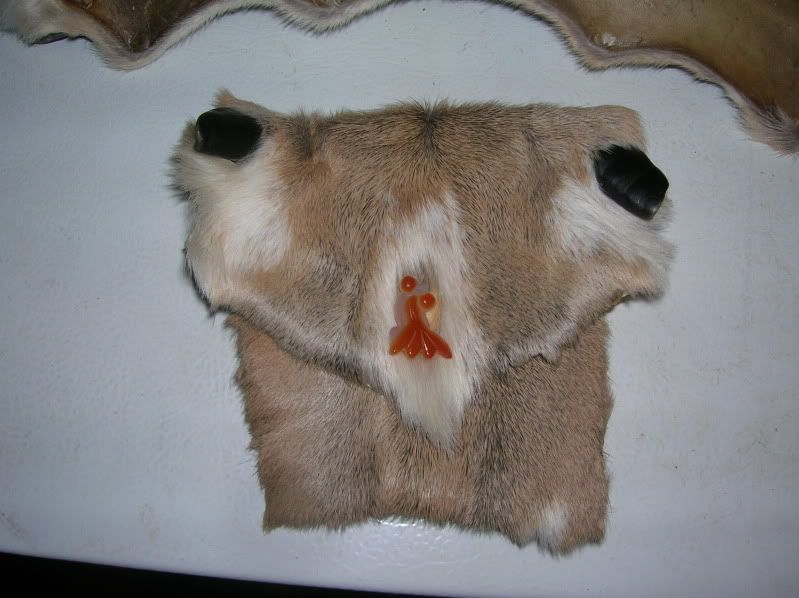
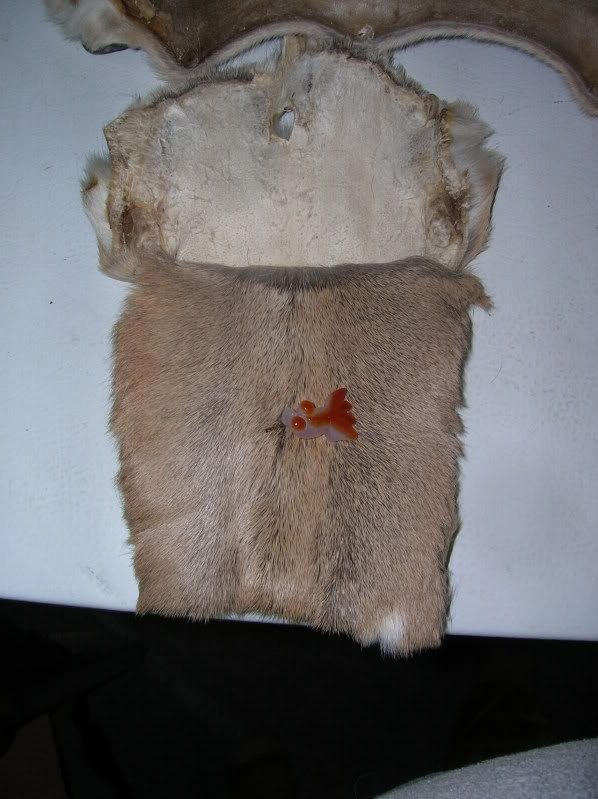
I just folded the hock so that the hocky bit is on the flap. Basic envelope shape, if you will, and whip stitch the sides. Initially, I used a goldfish bead for a button, but it kinda looked a bit ... strange, so instead I just tied a knot in a trimmed piece of skin and sewed it on the main body. There is a hole that I accidentally poked into the hock skin when I was skinning it off the leg - the bit between the main hoofs, so that became the button hole. 

image
image
image
Very, very not a work of art, but for a last minute present for another fellow hunter, I'm sure it'll see some use!


Other links that might interest you:

Deer hock pouch, iteration 2; with belt loop
How to skin deer legs for hockskins
Bark tanning hair on deer hide
Softening bark tanned hair on deer hide
How to remove the pasterns and coffin bone from a deer foot
Salt Curing deer hides for storage
How to degrease deer bones for making tools
Alum tawing white tail hair on neck skin
Soap/Oil tanning hoof-on, hair-on, Mule Deer hockskin
Processing green deer hide into .... 
Wild Foods compilation