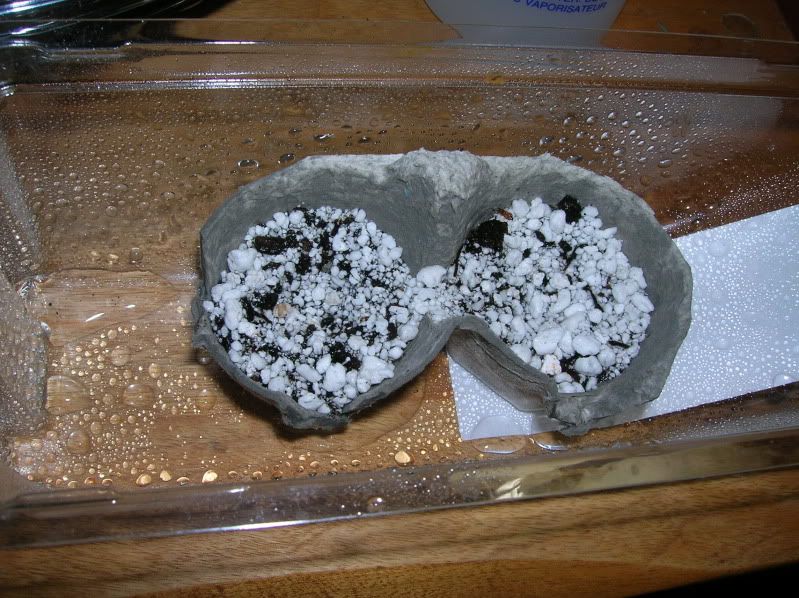
1- Prepare your transport carrier and growing medium. For temporary pots I'm using a couple of egg carton nests; reason being that they are packaging for food so not likely to contain any chemicals that could hurt the roots. Plus it's kinda fun *banjo*-ing some creative solutions.
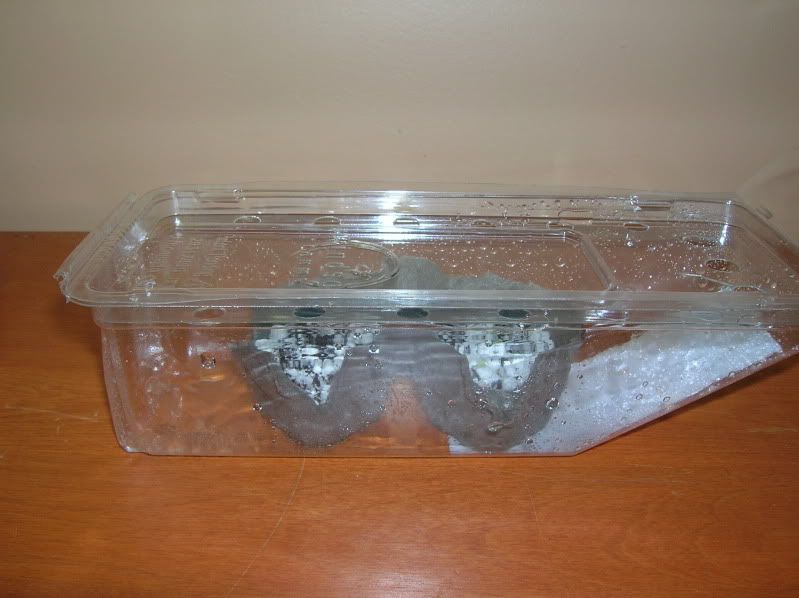
The carry case itself is a recycled cherry tomato plastic packaging. It already has ventilation holes in the bottom (which will be the top as I use it upside down)

2-I use a teaspoon of cacti & succulent soil mix
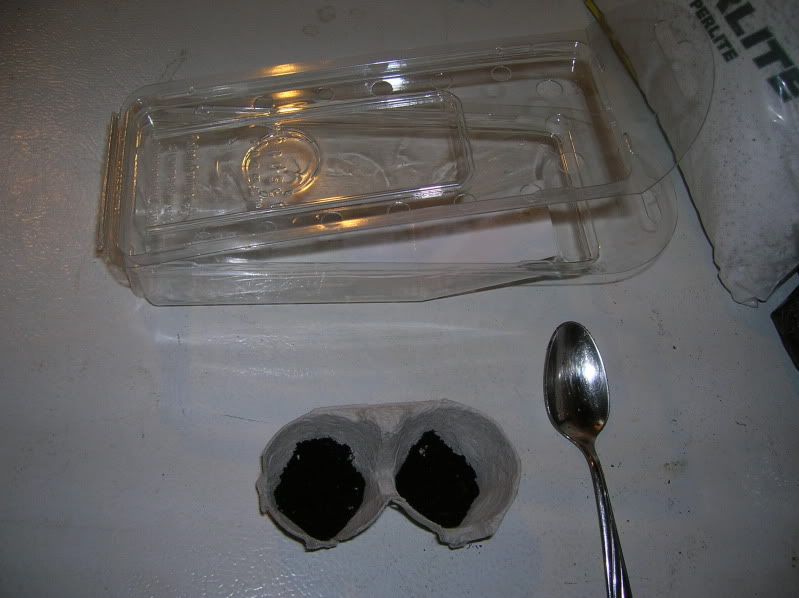
3- And two teaspoons of perlite. I don't want to use potsherds as I don't have any sterilised ones anymore ... don't want any fungi contamination now, do we?
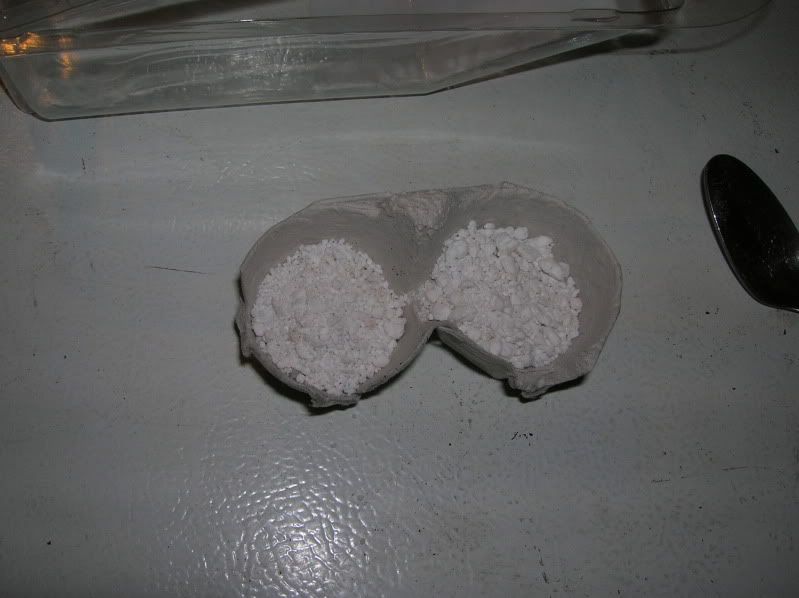
4- Mix them together with the spoon handle, and press a dimple in the middle of each egg carton cell, I used the end of a sharpie pen.
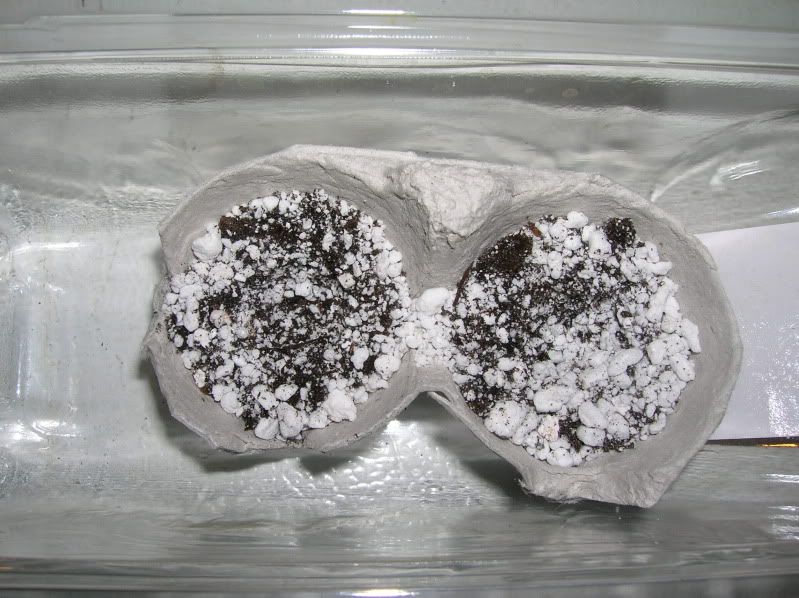
5- Make sure you transplant when it's nice and cool. I did it after sundown today - it's been pretty hot today! My little nursery of lithops is currently a recycled *Subway takeaway cookie case*
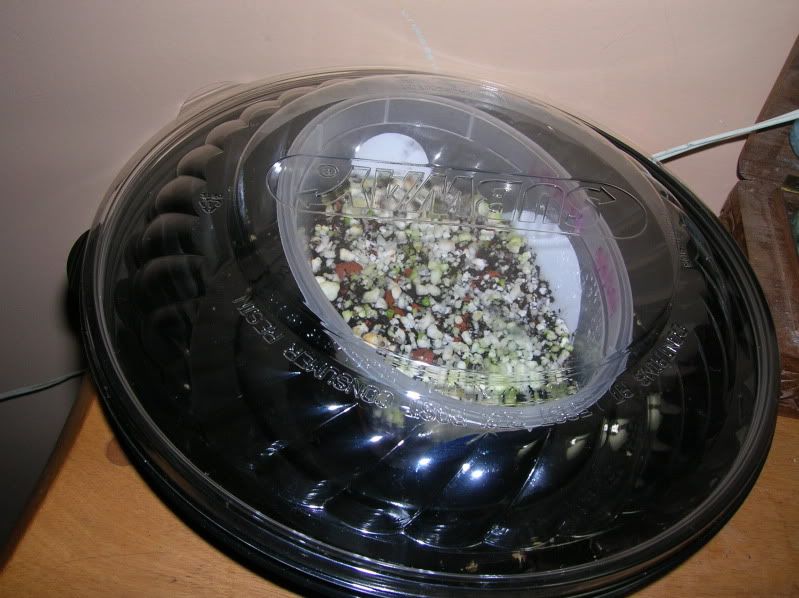
6- Before I pick out any seedlings, I used the mister and thoroughly soak growing medium and the egg carton cells, as well as some extra water in the carry case as well. The idea is to make the little air pocket in the carry case as humid as possible so that the seedlings' roots don't have to work over time to get water.
7- Now.... which ones of you lot are going to have an adventure? They're about 3 weeks after sowing. I can't believe how quick they grow in size! The seeds are about the size of the fullstop at the end of this sentence, and now the biggest ones are about 3mm across their faces.
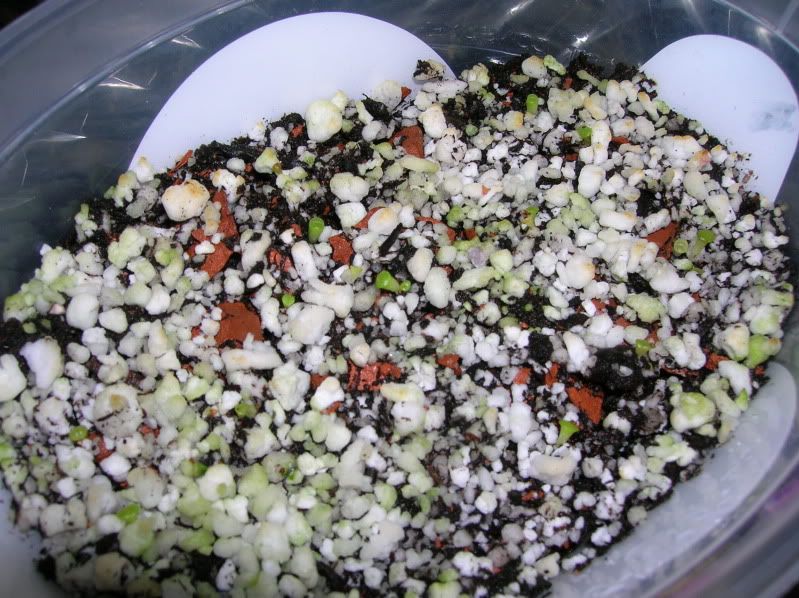
Decision time... chose a couple of big 'uns and a smaller one. They're christened Tom, Dick and Harry
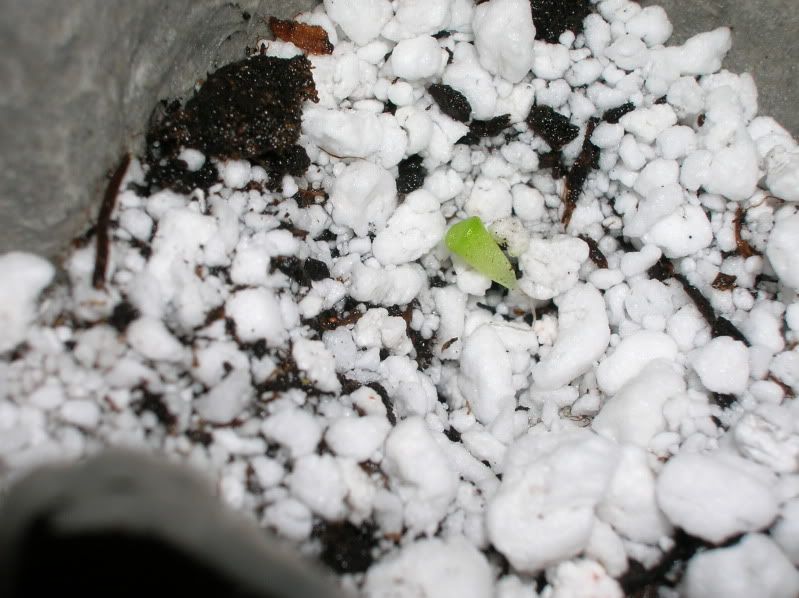
8- Tommy nestling in the dimple I made earlier. Don't know if you can see the tap root ... it's pretty fine and threadlike. Its VERY long compared to the lithop itself - Tom is about 6mm long, but his taproot is over 1cm!
9- *Dicky* was easier to move as he has decided to sink his taproot into a small clump of soil. I just had to lift the clump and place it in the second cell.
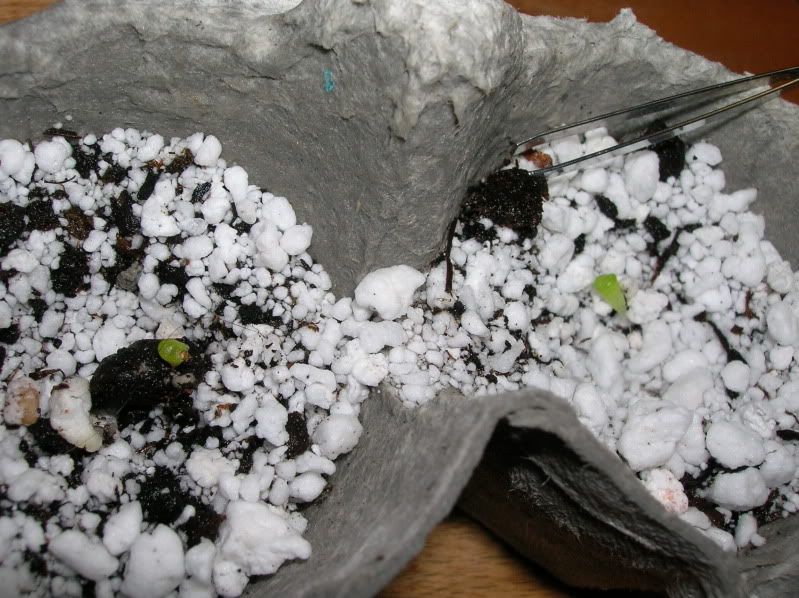
10- Harry had a little accident
After placing them in the dimple, I used the tweezers to gently collapse the surrounding medium onto Tom, Dick and Harry; burying all of the root and about half of their body-length. A couple more spritz of water from the mister to help the medium settle around the roots.
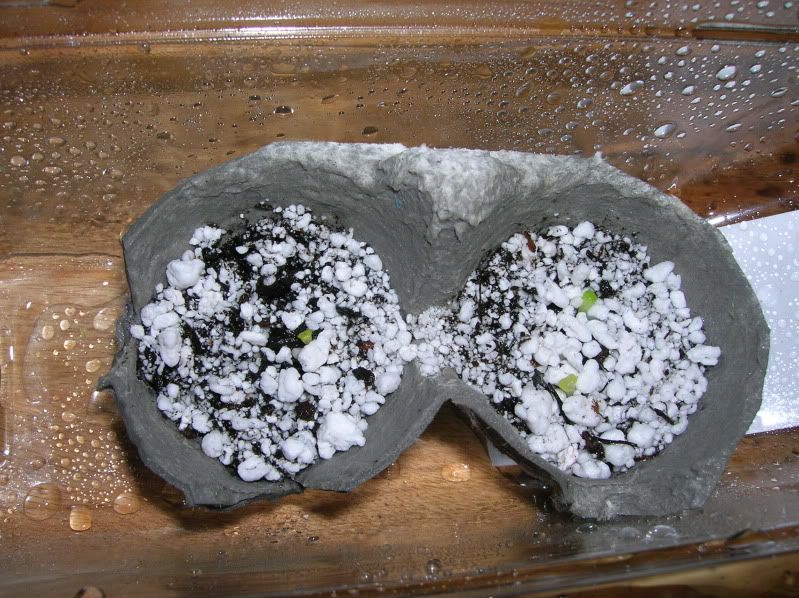
11- Tom, Dick and Harry chilling out in their cherry tomato case, under my full spectrum lamp, ready for pickup!

No comments:
Post a Comment