Caffeine: the most potent artificial intelligence drink!

Caffeine: the most potent artificial intelligence drink!
Deep in the Lair of the Perpetually Curious Fox

Saturday 31 December 2011

Softening the bark tanned deer hide

Decided to finish the bark tanned hide project. Technically, I could have let it be as it is now, it's tanned and won't spoil, but I'd like it to be a bit softer and lies down flatter. I'm sure the cat would agree with me, too.

Goosey Lucy on the deer hide. The hollow deer hair is VERY warm, as this fat cat can testify.

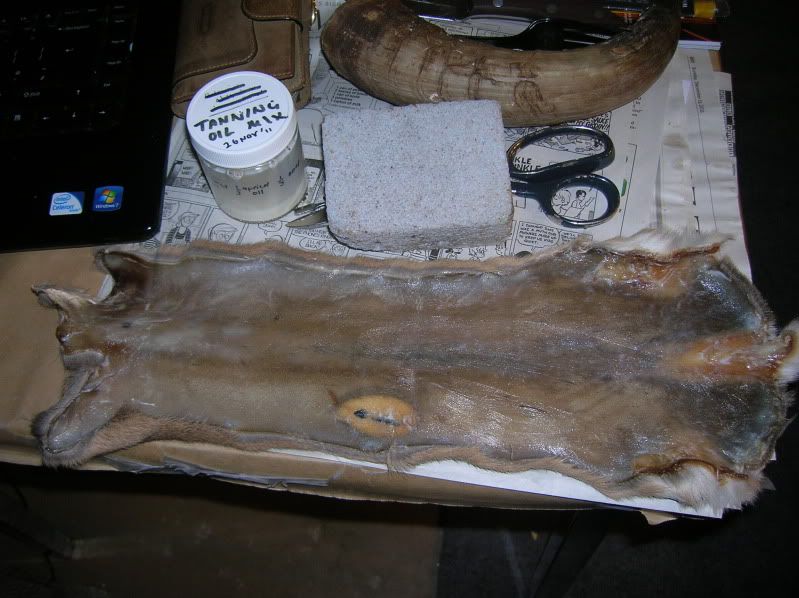
First of all, we make the dressing solution, if you don't have raw deer brains handy you can substitute with a mixture of 1/3 soap and 2/3 oils.


1/3 liquid soap (hand soap works fine, as do shower cream) and 2/3 oil. Any oils, really, I'm using olive oil.

Shake it well until it emulsifies.

Should have the consistency of thick cream/runny mayonnaise. It doesn't hurt to be runnier, than thicker.

If you're working on an already really damp, small project piece like the deer hock skin, then just rub in the thick leather mayo in as is. I just find that diluting the "leather mayo" with equal amount of water and shaking it well makes it easier to paint on using a brush. Plus, the extra water helps the hide take in the oil in the mixture. 

Then, grab that bark tanned hide, and spray water on the tanned flesh side with an atomiser, or just use a damp sponge to dampen the surface. The "leather mayo" will absorb better when the hide is damp, plus, we're going to roll it up and it's never a good idea to roll dried hide as it'll crack and damage the grain layer and start shedding hair.

Tools of the trade: paintbrush, jar of diluted leather mayo, and an atomiser.
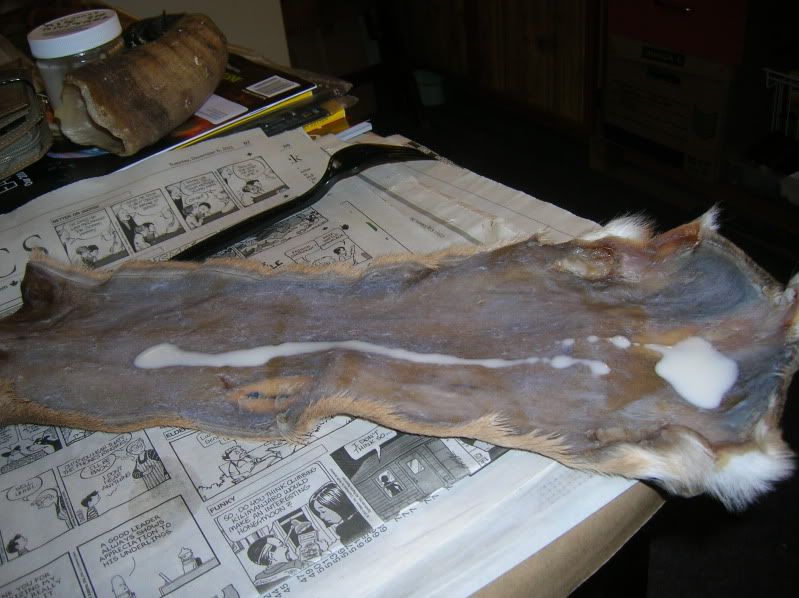
Once you've sprayed the flesh side and get it fairly damp, paint on the diluted leather mayo. Don't be stingy, you can always make more of the leather mayo. Paint away; the hide should suck up the emulsion pretty quick.


There will be areas that probably needs some "help" in getting the emulsion into the collagen fibres - you can either use a smooth rock to press it in, or using a blunt wooden implement .... you know, like a STICK lol.

Work the emulsion in well - it needs to reach the collagen fibres throughout the whole hide.

If you've worked it in well, the flesh side should take a darker colour. Don't worry if there's areas that are a bit stubborn, just make sure that you've covered the whole hide with as much emulsion to make it nice and damp and slightly "shiny" with oil. 

Now, grab a towel, soak it in hot water, and try your best to wring out excess so it doesn't drip. Lay it lengthwise onto the oiled hide so that it covers half of the hide. Fold the other side over onto the towel, so you kinda making a hide/towel/hide sandwich. That way the oiled flesh side is in contact with the damp, hot towel.
Notice how shiny the flesh side looks after the oiling?
Now roll it up! Don't worry if it doesn't roll up properly at first. Take your time - you can always re-roll it tighter when the hide has sucked up enough moisture and becoming less cardboard like and more thick blanket like.
Deer burrito!
Leave the deer burrito overnight with the towel rolled up inside. Check again and re-roll tighter and soak more water into the towel as necessary. The heat from the hot water helps the collagen fibres to relax and makes the oils penetrate deeper .... think of the "hot oil treatment" for dry hair. Don't use water that's too hot, obviously! You want to warm the leather, not cook it!

Rolled tighter! More hot water!


While waiting for the hide to hydrate fully and soften up, get 4 long pieces of wood, and start making a frame.
Make sure the frame is bigger than the hide!
Then place the hide centred on the frame lying on the floor. Since we're not really doing any scraping as such, like scraping off flesh or hair, it's not too compulsory to have the hide laced super tight. Just make sure it's tight enough laced so you can work out the creases. The hide should shrink a little as it dries, so keep that in mind, too.


It's easier to poke holes in the edge of the hide for lacing if you wet it first.


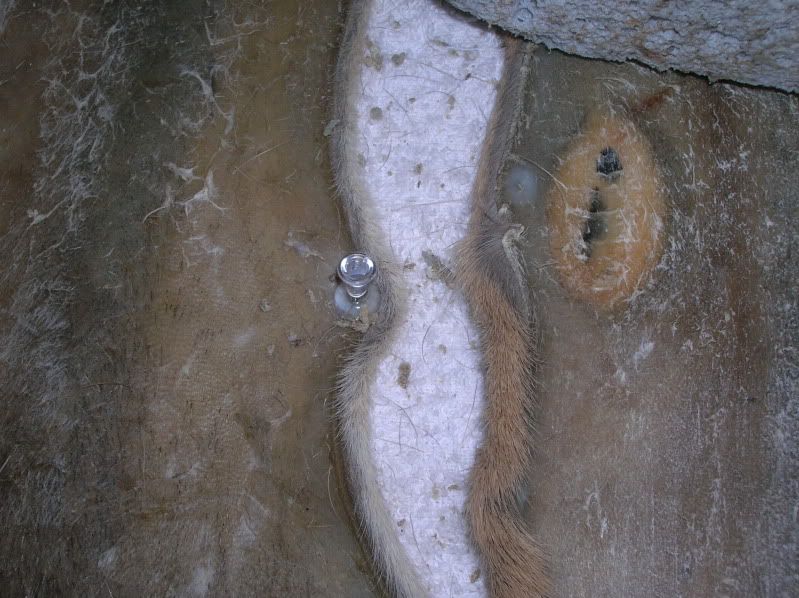
Poke a hole into the hide, say 1cm from the edge. 

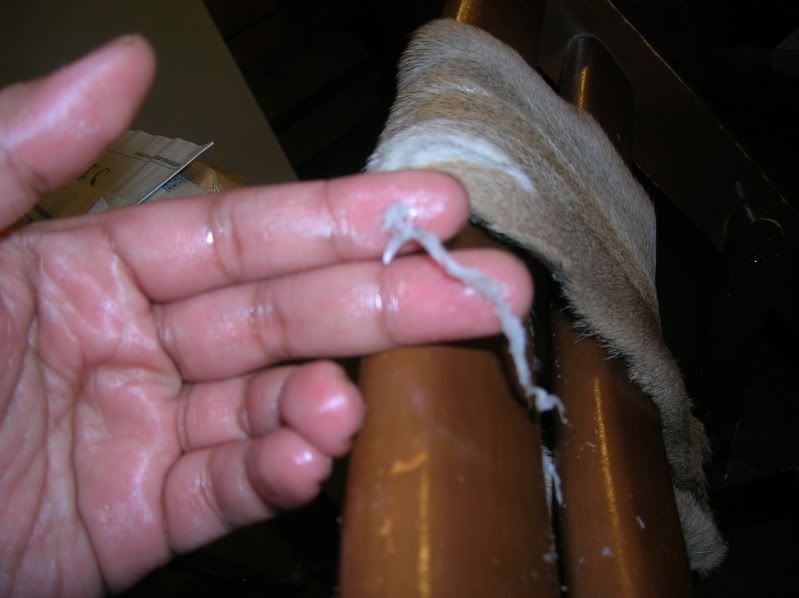
Use a bent paperclip with a loop at the end and poke through the hole into the hair side. Catch the string in that loop and pull it back to thread the string into the whole.


Tie off the end onto the frame and continue process of poking holes and lacing for about 4 or 5 loops, then tie it off to the frame. Repeat on all sides of the frames, so you centre the hide properly. You can always re-tighten and re-lace later, so don't go too nuts with it yet. You want to make sure you laced the hide as flat as possible, stretching out all creases.

5 anchor points to centre properly.
OK, here's the hide on the frame with the frame propped up. I'm going to stop now as my fingers are getting tired! Will continue .....

Here's some update on the hide. I finished lacing it a couple of days ago:

You may notice that the some of the edges actually drapes over the frame; this is because I wanted to save some of the edge pieces as unsoftened bark tan (they're the really thick bits - neck, bit of the leg) for some over things. The main body piece will be softened.
Now make some more of the leather mayo, and dilute it with water. Grab a paintbrush or a sponge and start slapping it on. Again, don't be stingy. It should suck up the good stuff very quickly, now being stretched on the frame.


How much emulsion do you need to paint? Depends on how soft you want it to be, how much creases you need to work out, how quickly you work, etc. The second painting uses up about 400ml of emulsion, as I have a lot of creases to smoothen, from the rolling.

At this point, you can either let it dry as is, to get a stiff-ish flat rug, or work it with a tool to soften it a bit more. If you do decide to work it with a tool, make sure you sew up all the holes or you might end up tearing the holes into bigger holes ... well you get the idea.


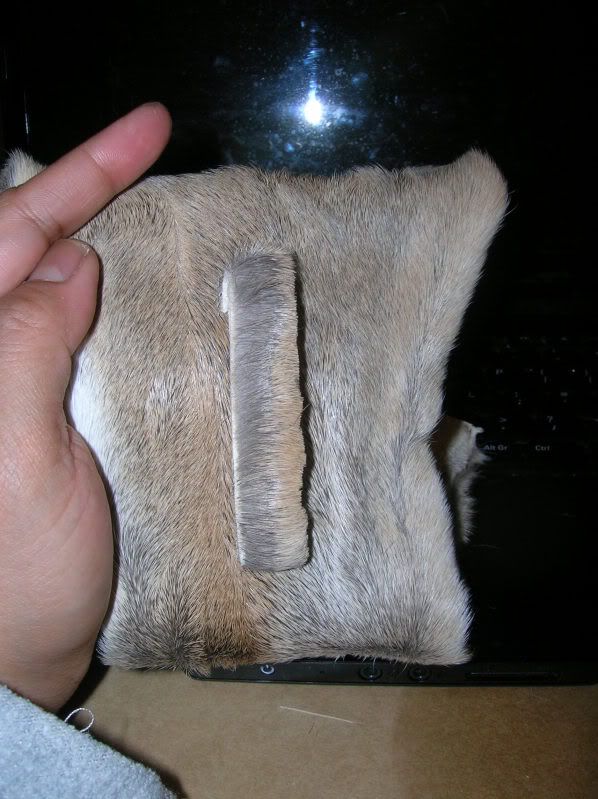
To soften, I decided to to make and use a deer scapula (shoulder blade) that's been cleaned and degreased. I would have reshaped it a bit more and have a wooden handle for it, but for this hide, I'll just use it as is. Once degreased the bone should dry very well with little oily residue seepage, and hence less chance of rancid fat smells. You have to remember that bone marrow is a very fatty substance, not to mention extremely delicious! Don't waste it!

Cleaned and degreased deer scapula.
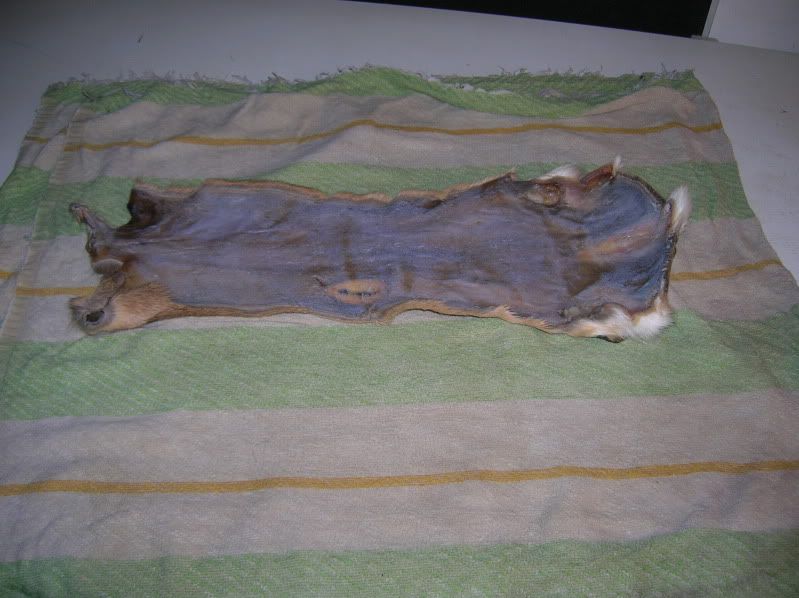
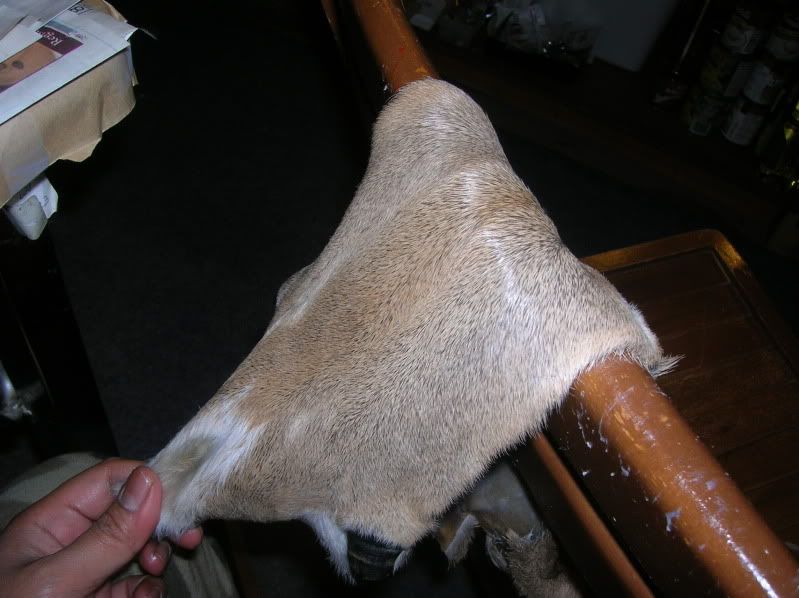
Here's what it looks like now that it's softened. It lies flat, and can be rolled and folded easily. Not exactly velvety, robe soft, but good enough for a bedroom rug


Other links that might interest you:


Deer hock pouch
Deer hock pouch, iteration 2; with belt loop
How to skin deer legs for hockskins
Bark tanning hair on deer hide
How to remove the pasterns and coffin bone from a deer foot
Salt Curing deer hides for storage
How to degrease deer bones for making tools
Soap/Oil tanning hoof-on, hair-on, Mule Deer hockskin
Alum tawing white tail hair on neck skin 
Processing green deer hide into .... 
Wild Foods compilation

Friday 30 December 2011

Deer hock pouch, iteration 2

OK, finished the 2nd hock pouch. My fingers are a bit sore, so I think that's enough leather sewing for today LOL.

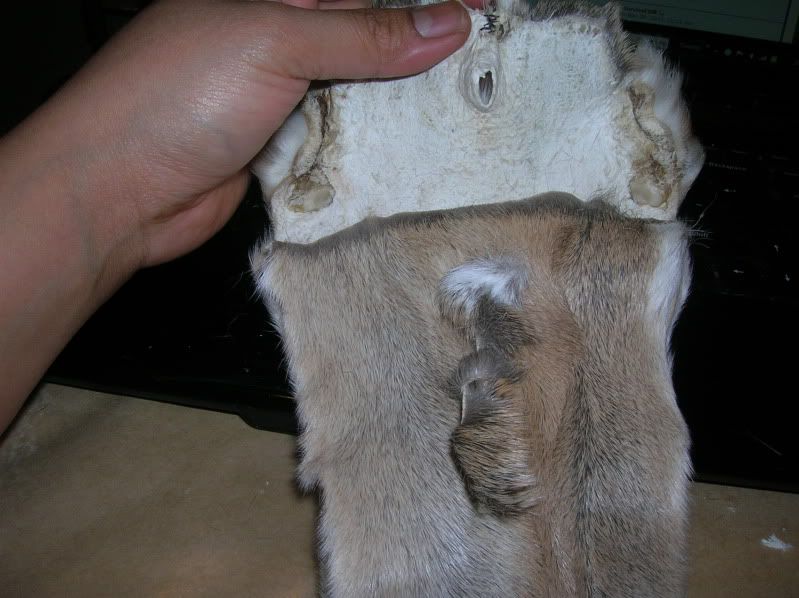
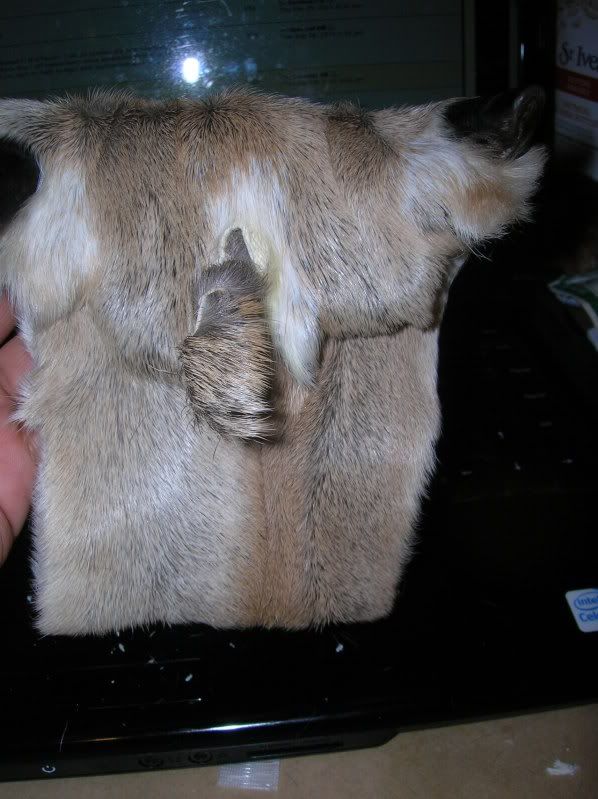
The modification for this one includes a belt loop.

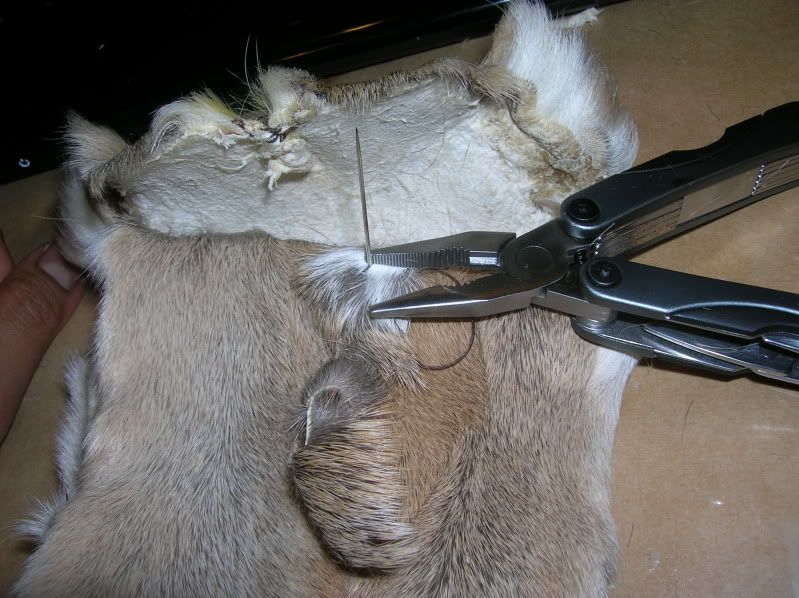
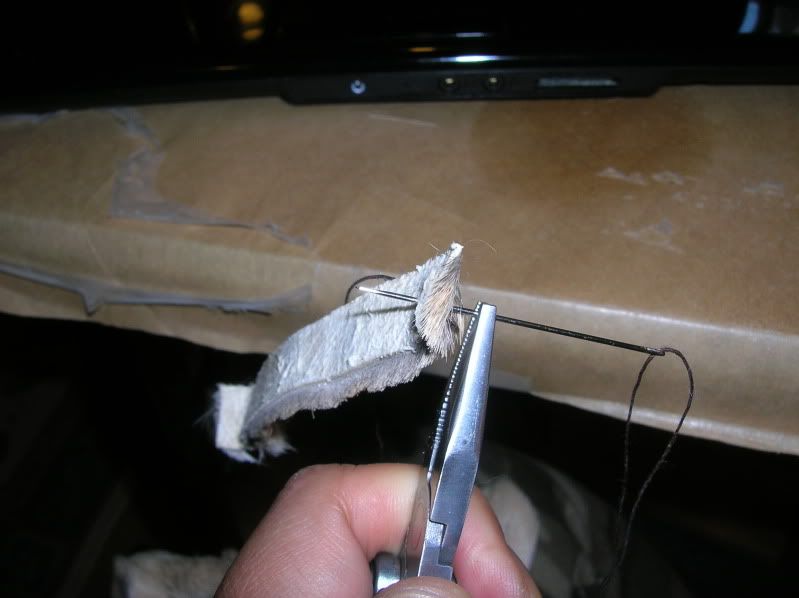
Please excuse my rather sloppy sewing skills and the not very paleo multitool pliers! I don't want to imagine how hard it would be to sew a bark tanned hock! Stabbied myself several times with the needle.

Image

Image

Image

Yes, I used a dark coloured milsurp kit thread, as I can't see them stitches too well if it's light coloured. Waxing the thread helps a bunch. Just used a normal sewing needle that can take that thread.

Then comes the thong bit with a knot, as a button. Thought about using some bone/antler next time.

Image

Image

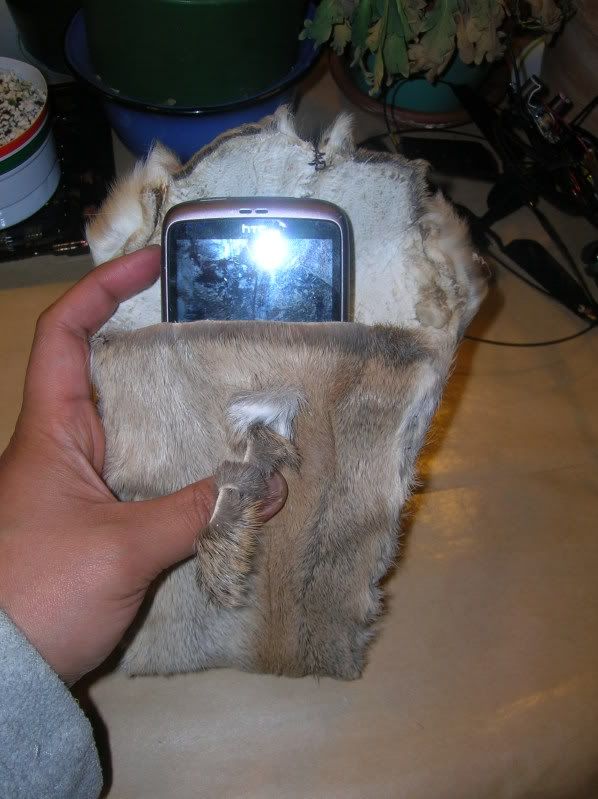
Aaaaand after many needle stabbies and curses .... it's done! Deer hock pouch, iteration 2.

Image

Low tech solution to high tech problem LOL

Image

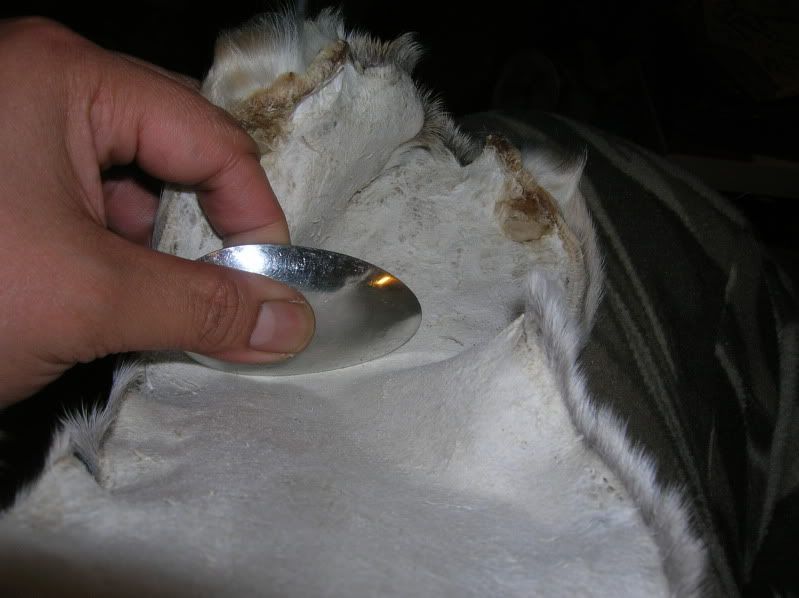
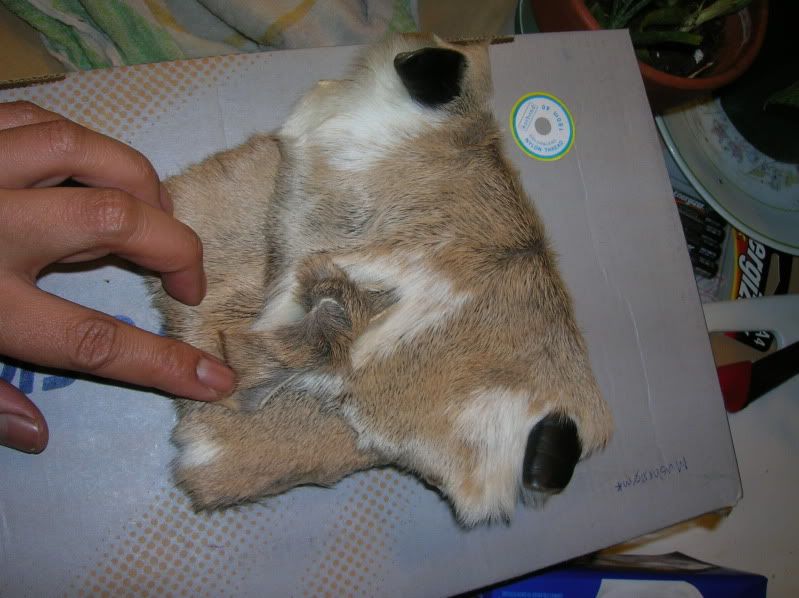
This time I didn't soften the hock on the back of the chair like I did the first one.... but got curious with ehailstone's (on Paleoplanet Forum) mention of "oo-luke" technique of softeningand decided to try it in combination of using a spoon as a mini-staking tool. Sorry about the weird angle - the only way I can take a photo is to bite one end of the hock skin to free up that hand for the camera.

Image

Quillsnkiko in Paleoplanet pointed out a cool tip - chewing the hard bits, and yes I did chew on the harder bits to moisten/soften it enough to make sewing possible :) tastes like smokey deer flavoured not-quite-chewing-gum-but-close LOL. Gotta make sure no doggies get this thing. Damn delicious.


Other links that might interest you:

Deer hock pouch, iteration 2; with belt loop
How to skin deer legs for hockskins
Bark tanning hair on deer hide
Softening bark tanned hair on deer hide
How to remove the pasterns and coffin bone from a deer foot
Salt Curing deer hides for storage
How to degrease deer bones for making tools
Alum tawing white tail hair on neck skin
Soap/Oil tanning hoof-on, hair-on, Mule Deer hockskin
Processing green deer hide into ....
Wild Foods Compilation

Saturday 24 December 2011

Deer hock bag

Quick christmas present for my hunting buddy.


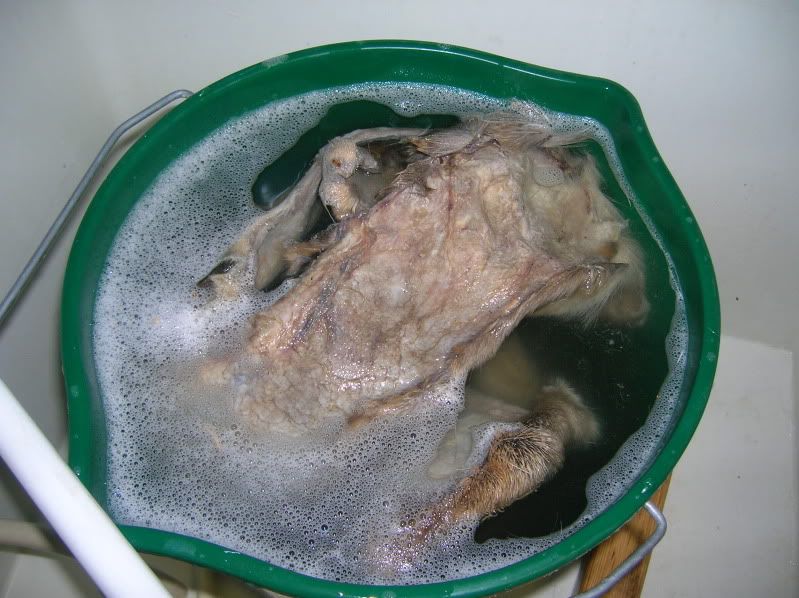
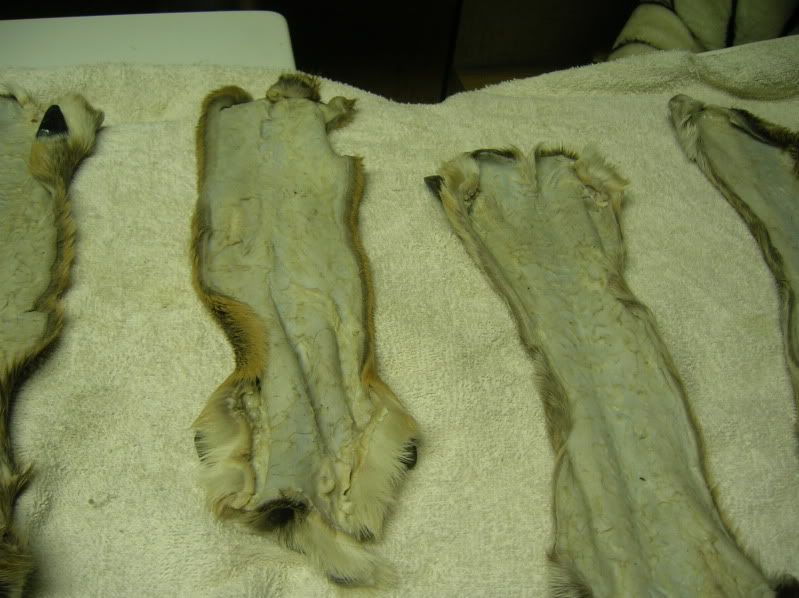
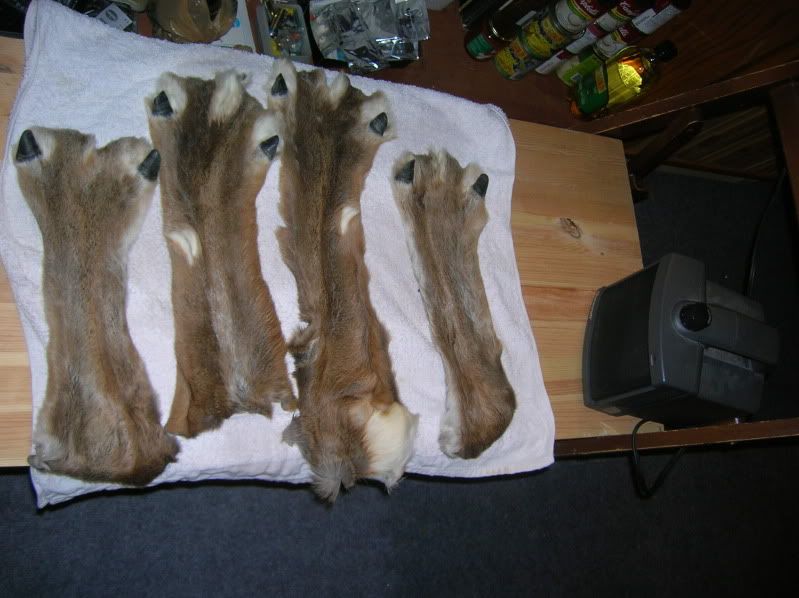
First, we get some hock skins. I have a few kicking around salt cured, so into the bucket with mild detergent and warm water it goes. I think I washed it 3 times with soap to finally remove the rut smell, even used a soft brush on it. Then rinse.

image

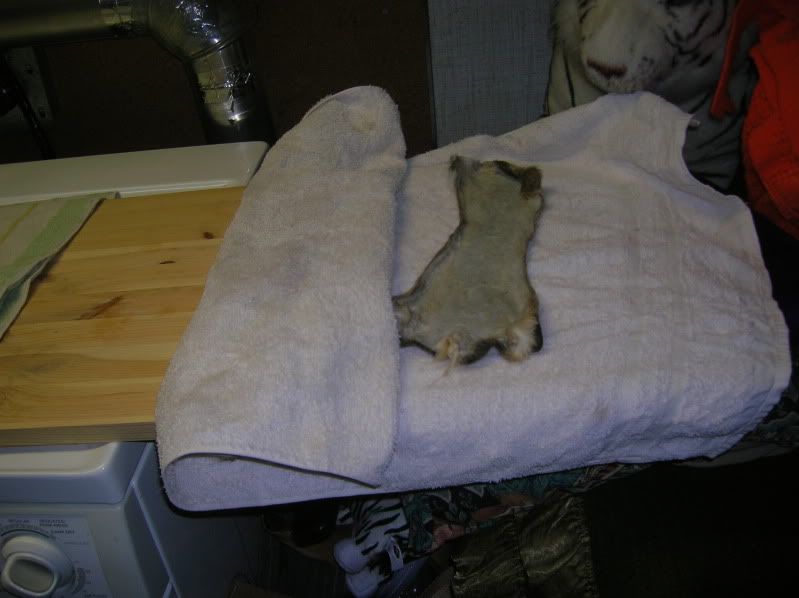
The membrane in the flesh side is such a bugger to remove, wet scrape wise, so I decided to leave them on for the moment - just making sure all the gluey stuff, rutty smell and loose animal bits are removed.

image

Roll it up in a towel, and wring, to dry off excess water.

image

Put it hair side up, on a towel, near a fan to dry off the hairside completely.

image

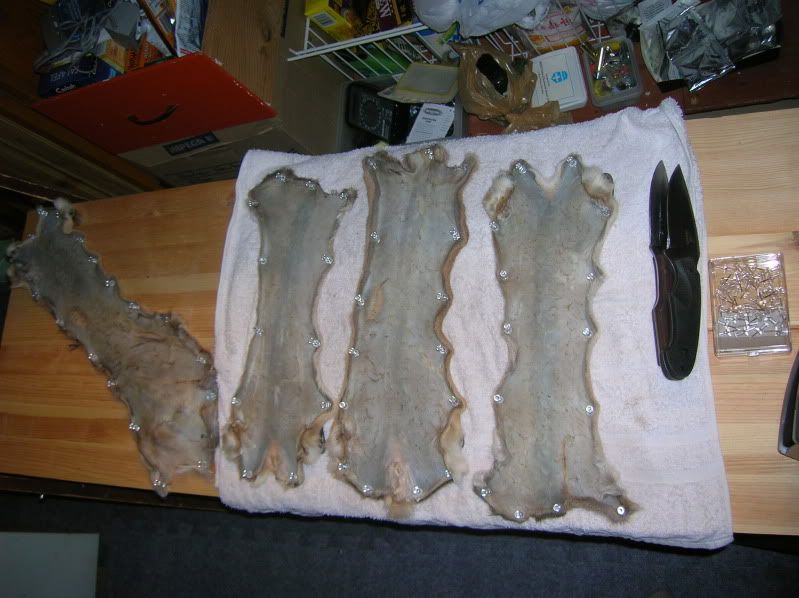
Tack it onto a flat board, flesh side up, to dry.

image

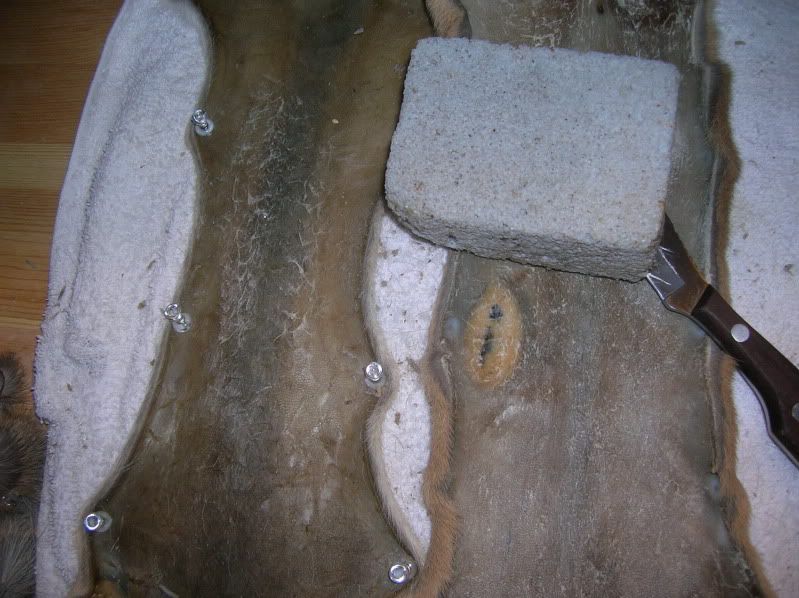
Once dry, use a sharp knife and a pumice stone to remove all membrane. I love the pumice stone - it kinda works like an eraser for membrane when the hockskin is dry. Love the stuff. Rub rub rub away until you remove the dried, shiny membrane stuff.

image
image

When most of the membrane is gone (little tiny patch here or there doesn't hurt it much), spray some water on it until damp, and dress it with your dressing of choice. I used 1/3 liquid soap + 2/3 oils.

image

Then I rolled it up in a damp towel that's been microwaved for half a minute to warm it up. Roll it up tight and put somewhere warm for an hour.

image

More dressing. Rub it in well, the hock skin should be really nice and loose, and pretty soft now.

image

Then work it. Took me about an hour or so, hock skin is quite thick, but having hot hands and a warm room helps.

image

More bits of membrane comes off, which I knew they would.

image

Sand paper to smooth it. Look how it compares to the tacked but not de-membraned, oiled and worked. I find it helps having an unworked piece to compare to as a reference for "done-ness"

image

The smoking step is missing because my niece's dog was keeping me busy - but yes, it was briefly smoked. For a tiny piece like this, what I did was put the hock in a tin with holes poked in the top and bottom. Then light an incense stick or put a smoky piece of damp wood in the tin. Smoke for as you needed. The tin helps hold the smoke in, too - so after an hour of taking out the hock out, there's still lotsa smoke in the tin.

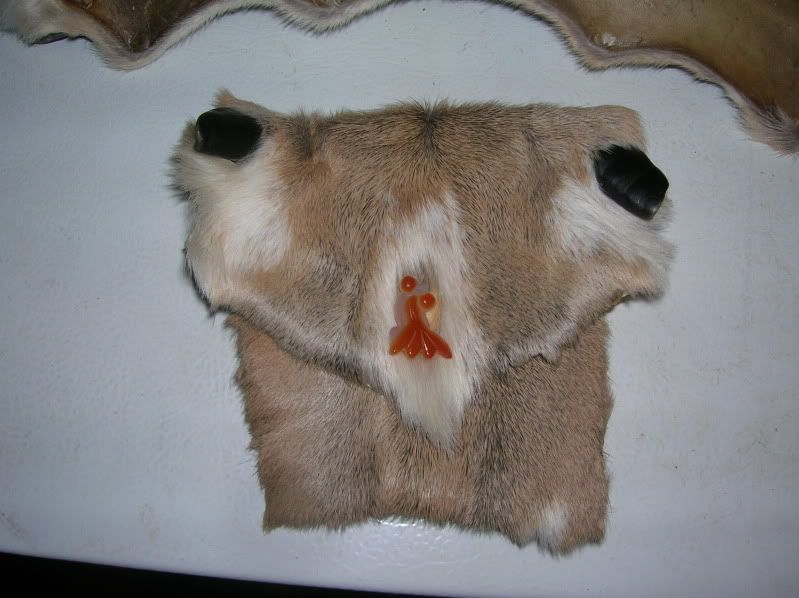
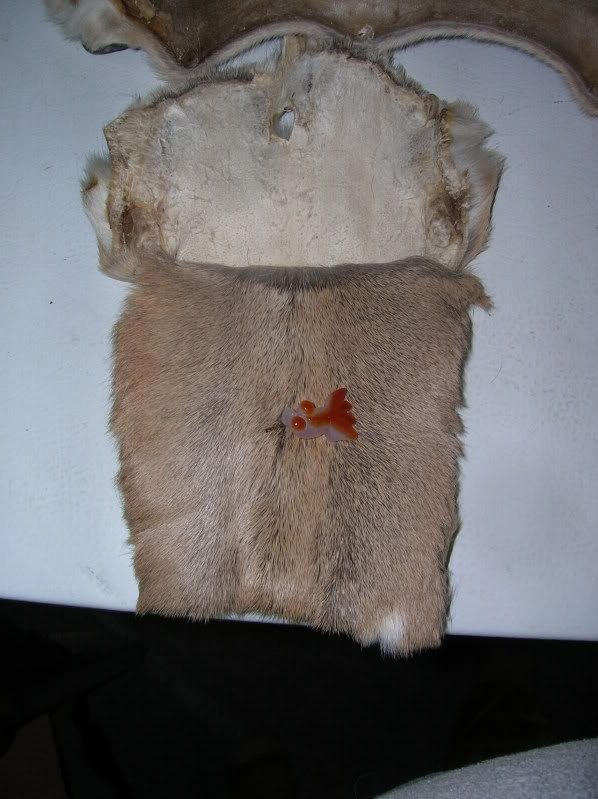
I just folded the hock so that the hocky bit is on the flap. Basic envelope shape, if you will, and whip stitch the sides. Initially, I used a goldfish bead for a button, but it kinda looked a bit ... strange, so instead I just tied a knot in a trimmed piece of skin and sewed it on the main body. There is a hole that I accidentally poked into the hock skin when I was skinning it off the leg - the bit between the main hoofs, so that became the button hole. 

image
image
image
Very, very not a work of art, but for a last minute present for another fellow hunter, I'm sure it'll see some use!


Other links that might interest you:

Deer hock pouch, iteration 2; with belt loop
How to skin deer legs for hockskins
Bark tanning hair on deer hide
Softening bark tanned hair on deer hide
How to remove the pasterns and coffin bone from a deer foot
Salt Curing deer hides for storage
How to degrease deer bones for making tools
Alum tawing white tail hair on neck skin
Soap/Oil tanning hoof-on, hair-on, Mule Deer hockskin
Processing green deer hide into .... 
Wild Foods compilation
Tuesday 20 December 2011

Curing deer hides for storage

Back from the metaphorical and metaphysical ... to deer hides (again)

I'm in the process of curing a couple of deer hides with salt as to free up the freezer space for food. In theory you can cure the hide just by air-drying, and even freeze drying (if it's cold enough and dry enough where you live), but right now the Chinook system has brought in a warm spell (it's above freezing here!) and the hides need a bit of help to dry.


Fleshing the hide

Prior to drying/curing I scraped off all flesh and fat from the hide. If the membrane is easily detachable, then pull/scrape it off. If it is stubbornly stuck on the flesh side, then leave it, as you risk injuring the hide with over-enthusiastic scraping and will end up with weak, thin spots, not to mention a whole bunch of holes.

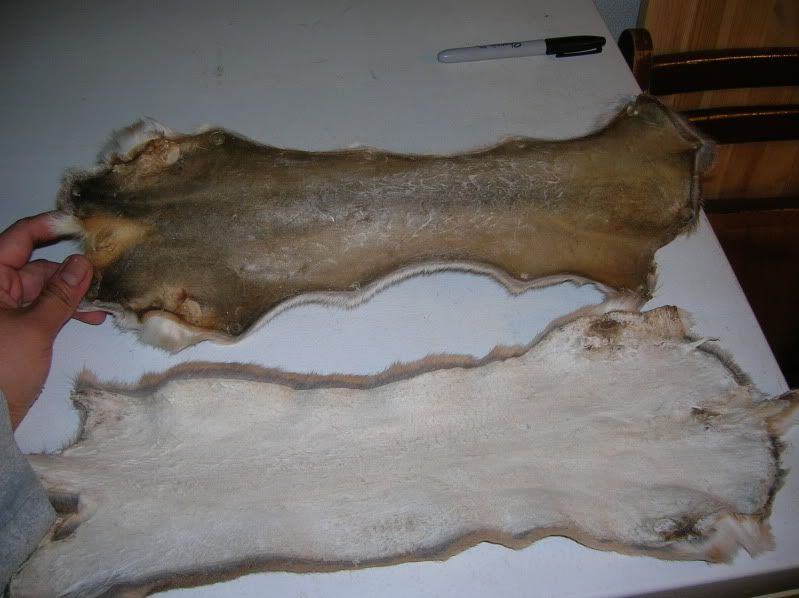
Use a blunt-ish knife to scrape away the flesh and fat and connective tissues from the hide. You should be able to expose the skin which will look bluish white underneath all the gorey bits.

He was such a handsome buck. Kept his hide, legs, some bones, and antlers (and meat!). Thought about keeping the skull, but my other half has strongly protested against it.
With experience, you should be able to flesh the whole hide in less than a couple of hours. My first "fleshing" try took me 3 days, though, but once you figured out the technique it becomes really easy. Depending on how much pressure you can apply with your hands on the knife, I found that a really sharp knife is handy for the more easily fleshed areas, like the back, neck, and main body. The areas where the skin is pretty thin, like the flank, belly, inside leg, it's better to use a slightly dull knife so you can press down and force the tissues off without cutting the skin underneath.

I just used my good ole mini kukri, although many people prefer to use a draw knife, scraper made out of bone, copper pipe, etc.

Draw knife. Most woodworking shops will have this.
Someone using a draw knife. Image from rodnikkel.com
Bone scraper and flesher made from Elk leg bones. Image from Quillsnkiko in Paleoplanet

How to hold the thing. Image from Quillsnkiko from Paleoplanet
I am in the process of making a scraper and flesher out of deer leg bones, but right now they're sitting in a bucket of soapy water (after removing the marrow) to degrease it so it won't stink. I'll post a tutorial for making bone tools when they're clean.

So, how does one scrape the flesh of the hide? It depends on how fresh the hide is, and if it's dry or wet. I tend to wet-scrape (i.e. when the hide is still fresh) like the guy with the drawknife in the image above. This site has very good videos of the Innu people processing caribou hides, I just love the way the hunter makes his own tools, and the appearance of a copper pipe worked to be a scraper.


http://www.nametauinnu.ca/en/nomad/detail/47/32

Some people prefer dry scraping, i.e. putting the hide on a frame, letting it air-dry, then use a very sharp scraper to shave away the unwanted tissues. I have yet to try this technique. If you're curious, then have a look at this thread written by Peter, who documented (using a non-paleo digital camera, obviously) his attempt at hide processing using only Paleo technology. And yes, he did use flint flakes and sharpened bone!


Salting the hide

Most articles and guides recommends using as much salt as the weight of the hide, but I usually just play it by ear.

First advice: Wear clothes and footwear that you won't mind so much getting covered by deer fluids, blood and random bits of tissues.

Second advice: Spread a tarp over your work area!! Hides are usually between 50-60% water, so there's going to be a lot of deer juices dripping and flowing everywhere! Don't do it indoors, obviously.

Third advice: Make sure you have LOTS of salt.

Ideally I prefer a flat work surface that's at a slight tilt so the hide can lie flat while the salt does it's job and the fluid that comes out of the tissues drain off somewhere and not soak the fur side. Since I do not have that sort of contraption set up, I just laid the hide, flesh side up, on the tarp, getting it as flat as possible.

Then you sprinkle salt all over the flesh side, working it into the folds right up to the edge of the hide. How much salt did I use? About 2-3kg depending on the size of the hide. Leave it for about an hour or so until some liquid initially migrates out of the tissues into the salt layer - this way it cakes up the salt to a very thick paste.

Lay the hide, flesh side up, on a flat surface. Sprinkle lots of salt all over. Rub the salt into the hide with your (gloved) fingers, making sure it covers every flesh side surface, including folds and the edge.

Once the first salt layer has formed a salty, gooey paste, sprinkle more salt on it, then fold the hide into half, flesh side to flesh side.

Salted and folded, flesh side to flesh side.

Get a stick (branch, broom handle, PVC pipe) and start rolling up the hide (now the hair side won't touch the gunky, salty, flesh side) with the stick in the centre of the roll.

Yes, that's the deer's tail.
Now take the deery bundle (it should start leaking tissue fluids now, so be prepared to be smeared) and prop it against a wall or a tree, so that the main crease is at the top, and the folded edges are kind of hanging at the bottom.


Also make sure that the hanging edges of the deer hid is not sitting in the draining salty tissue fluid! You want to keep the hide as clean as possible. You can see some fluid collecting at the bottom of the bucket that I used to help secure the stick that I used to prop up the hide.

Check every day, put more salt on if necessary, I usually find that the 1st and 2nd salt layer to be completely washed away with the draining tissue fluids after a day or two. Once the flesh side no longer feel sticky and drippy, you can unfold it and let it dry flat for storage.


Why salt the hide?

I found that salted hides tend to be easier to de-membrane once you rinse out the salt. The salt helps to break up the mucopolysaccharides that makes up the bulk of the gooey fascia that lies between the skin and the flesh. Even after de-fleshing, the gooey stuff is still within the collagen fibres of the skin, and that's what makes fresh hide so slimy to the touch.

Air drying and aging also breaks down the goo, as with freeze drying, freeze-thaw cycles and other various methods that other people use. I just find salting most convenient. You can tan a fresh hide, of course, but there's a lot more goo to deal with.

Update on the salted hides

I unrolled both salted hides today, as most of the fluids have drained away being propped up at an angle against the tree. Now, comes the 3rd and final salting, before it goes to dry out on relatively flat surface.


The flesh side of the hides are slightly damp, but no longer drippy or sticky
Just so the whole thing doesn't lie on the ground too much (want them to dry completely, not just merely frozen) I strung up the tarp so that the bottom of the tarp is a bit above the ground. Now we wait until they dry up! Should take a week or so, hopefully less, as the air is pretty dry right now.

This is dry salting. If you're more fond of wet-salting, take the slightly moist salty hides and stuff them in an airtight container. They should keep maybe a few years. Dry salting tend to last longer as there's less moisture, not to mention lighter, so I can just stuff them into the garage eaves until the weather is warm enough for processing in spring. The hair on bark tanned hide in the previous post was sitting in the garage eaves for about 15 years!

Other links that might interest you:

Deer hock pouch
Deer hock pouch, iteration 2; with belt loop
How to skin deer legs for hockskins
Bark tanning hair on deer hide
Softening bark tanned hair on deer hide
How to remove the pasterns and coffin bone from a deer foot
Alum tawing white tail hair on neck skin
How to degrease deer bones for making tools
Processing green deer hide into ....  
Wild Foods Compilation